1. Acquire some dirty coins
Find a dealer that provides dirty coins.
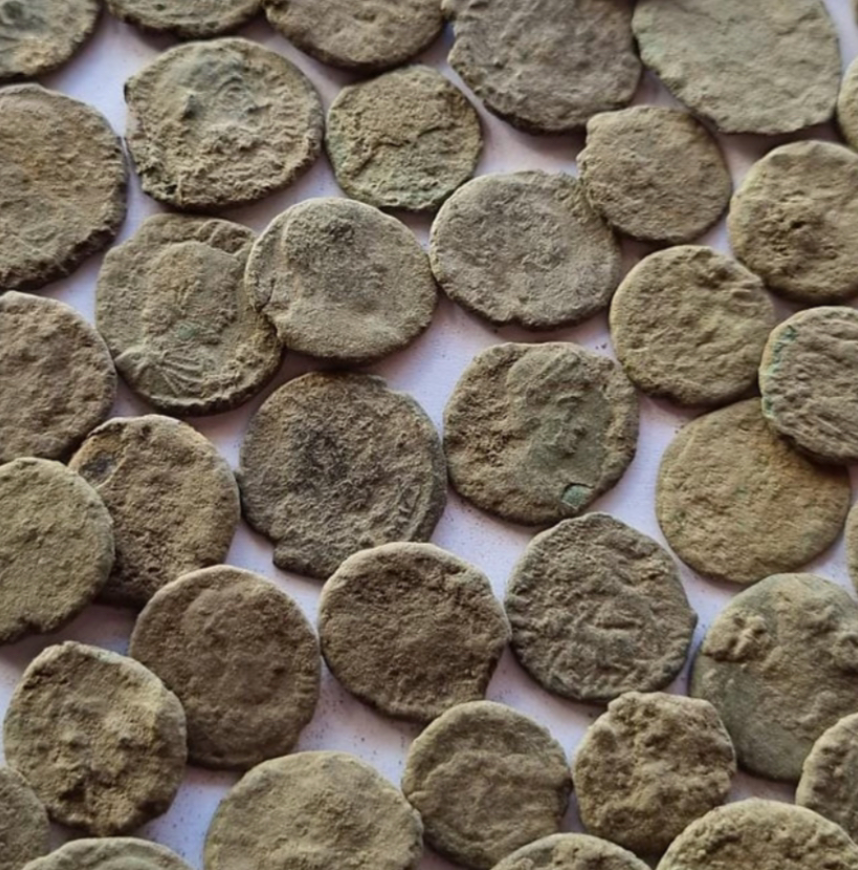
There are many categories of uncleaned ancient bronze coins
- Low Grade
- Medium Grade
- High Grade
- High Grade, Desirable Type
2. Image and Identify coin as best as you can before cleaning
Taking Photos
Taking good before photos is important in the process. It allows for you to later see before and after comparison. This comparison is extremely helpful to understand the mistakes you made along the way. If you are new, you will likely make mistakes. Understanding them in key to not repeating them. Before and After photos tell you that story.
Before you get squeamish, experts of cleaning/restoring will openly claim to have destroyed hundreds over decades in order to save thousands later with superior experience and situational knowledge.
Perhaps start with low grade 4th century roman bronzes, struck and found in the millions. Learn off of “worthless” (in the market) and plentiful coins before attempting to clear rarer and more valuable types.
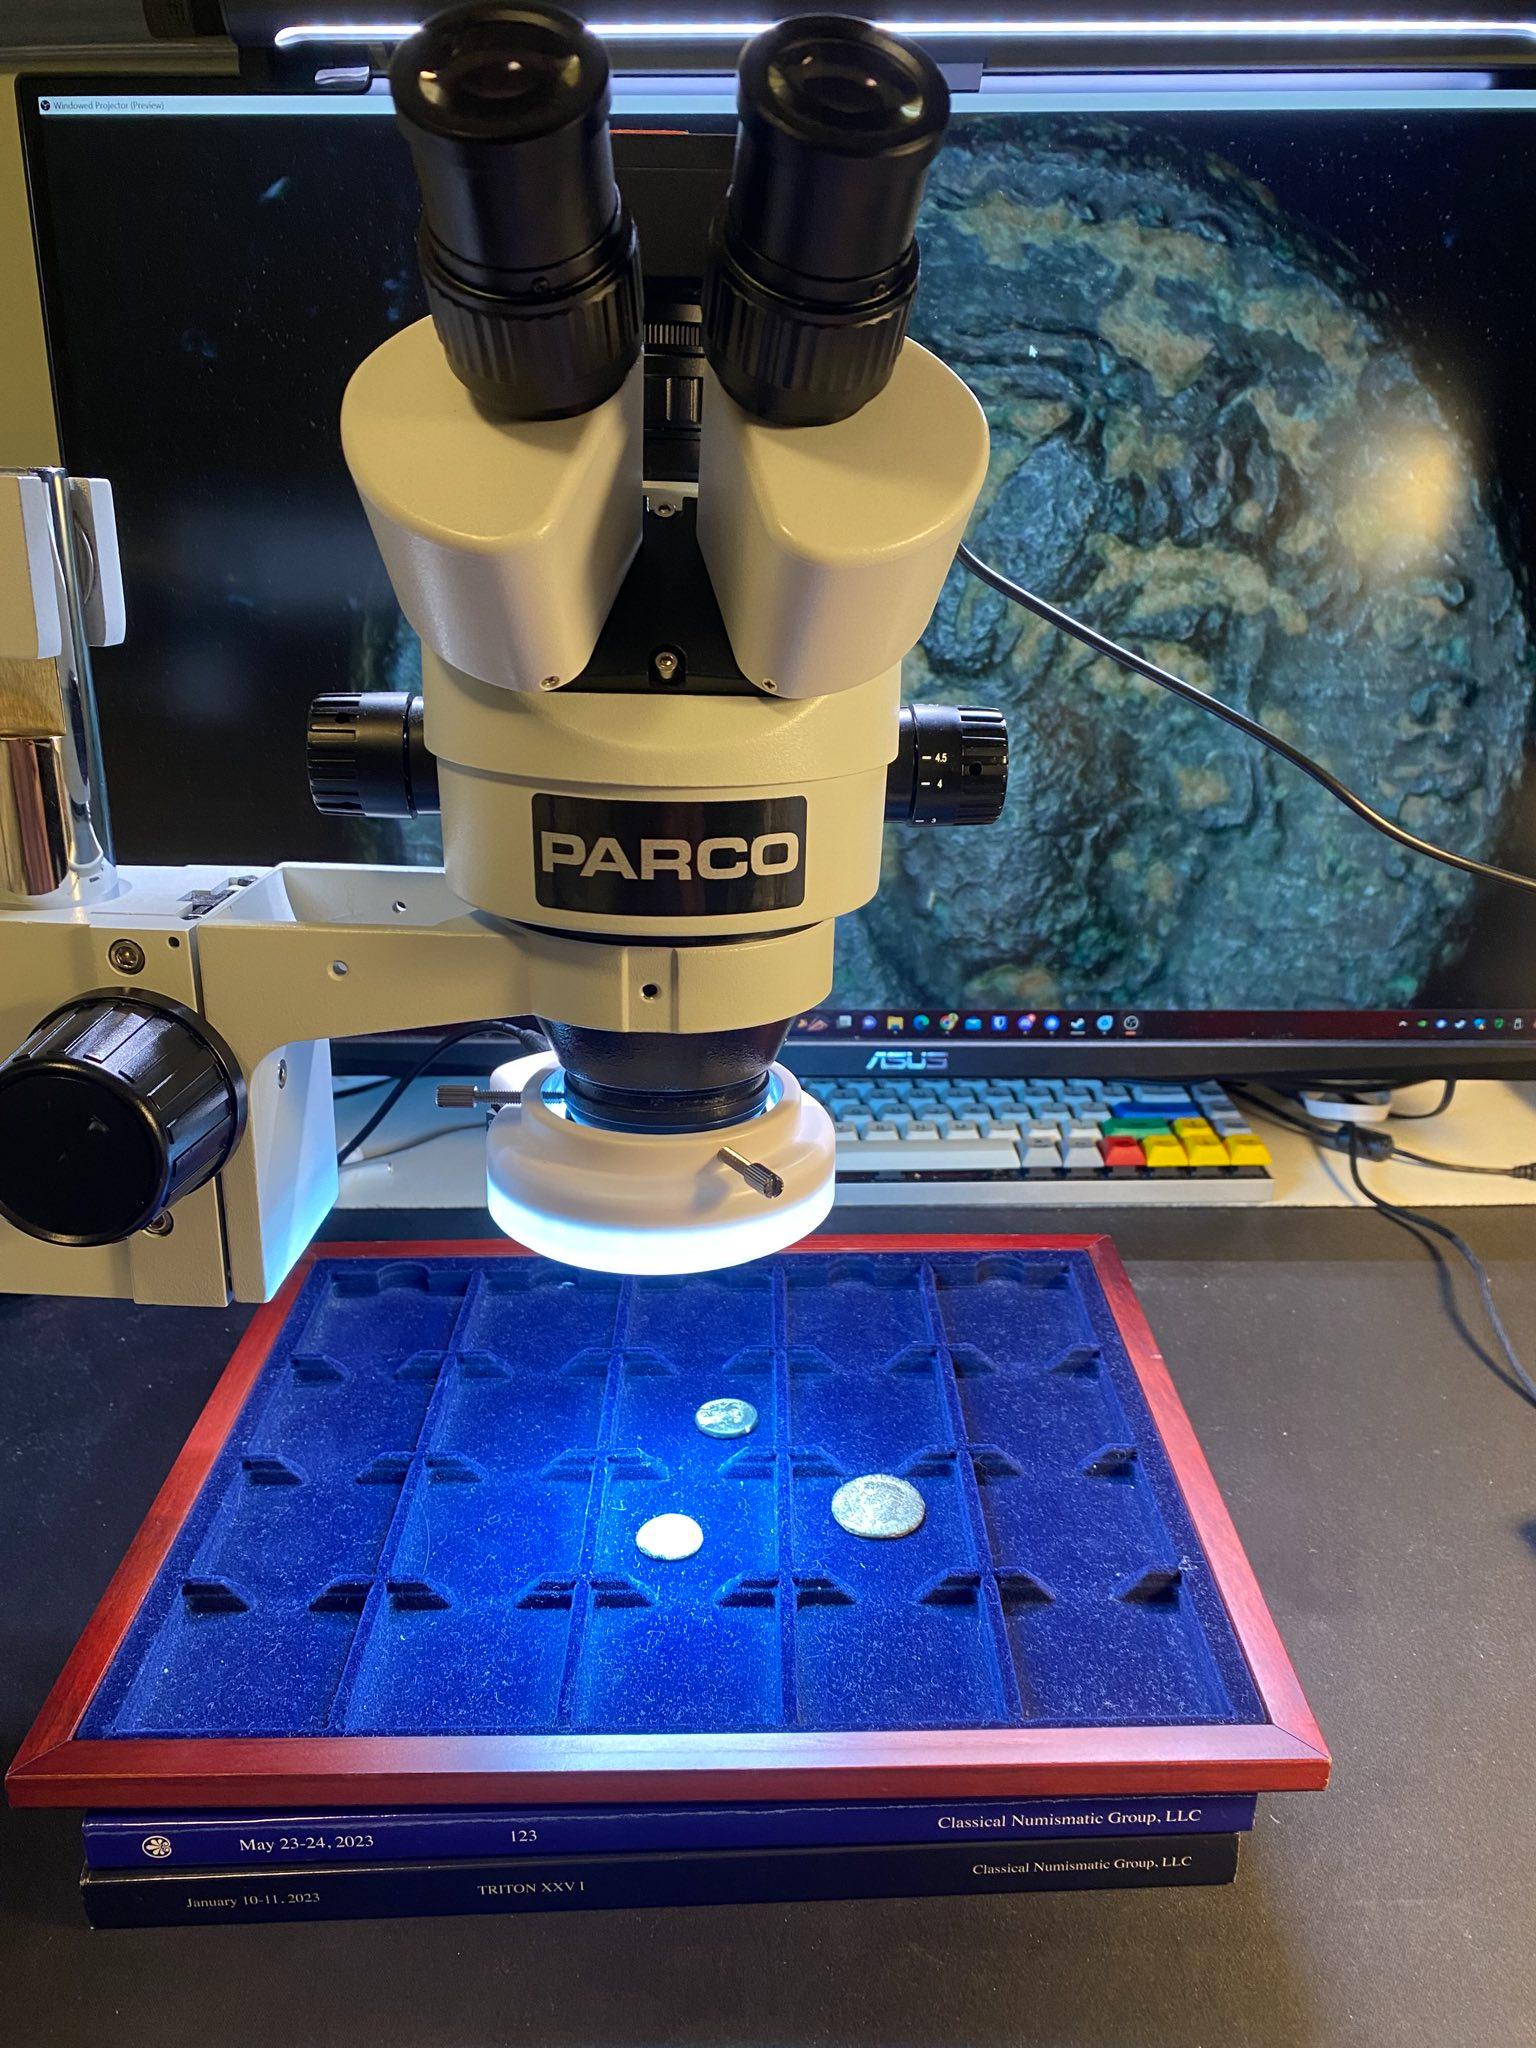
Side tangent aside, when it comes to before/after photos you do not have to be taken professionally. I am not suggesting buy a Macro DSLR rig or a pricey microscope camera attachment.
A phone camera with very good lighting can do the job. Just ensure you take from the around the same perspective (distance/position) for before and after to allow for good comparisons.
Identifying your coin (if possible)
Some coins come arrive in a completely unidentifiable state beyond a general 100 year period. Based on size, weight and shape you can make educated guesses on time period and empire.
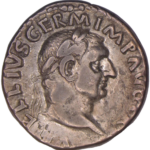
Based on weight and size, I can safely say the uncleaned example slug below is a Roman AE3 from the period of Constantine’s sons of either Constantius II or his many co-rulers.
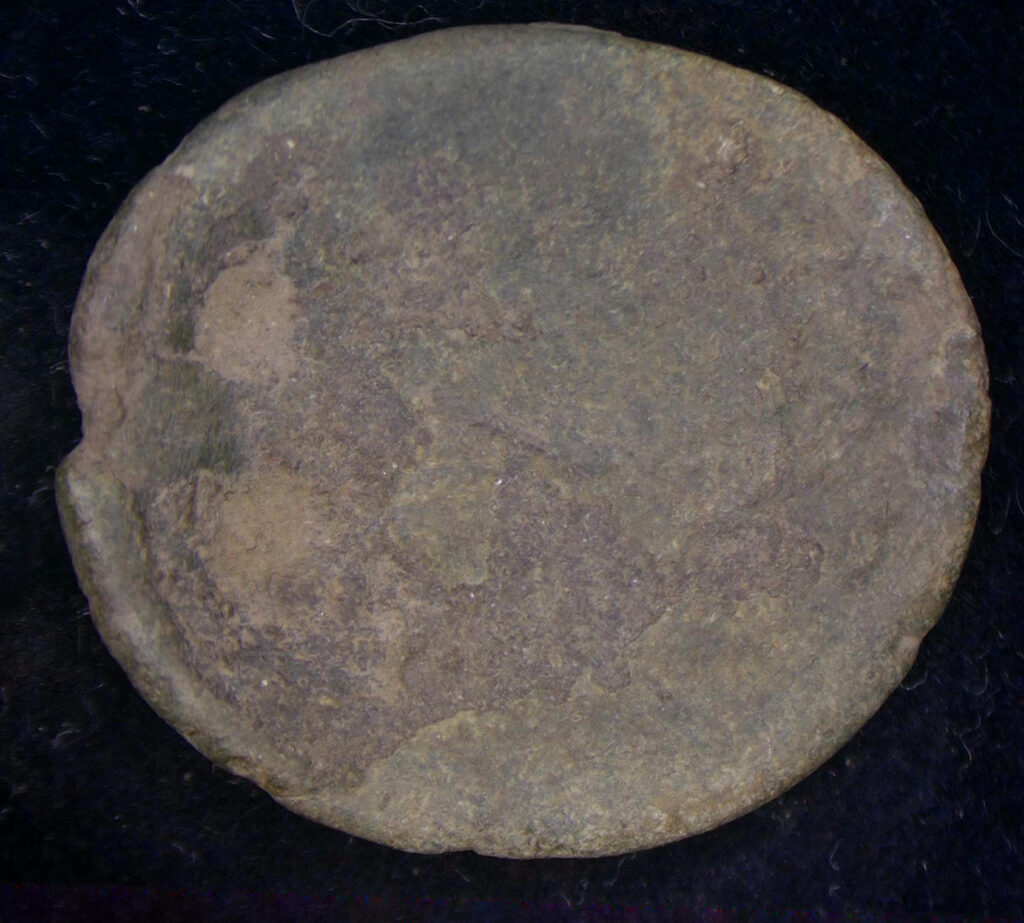
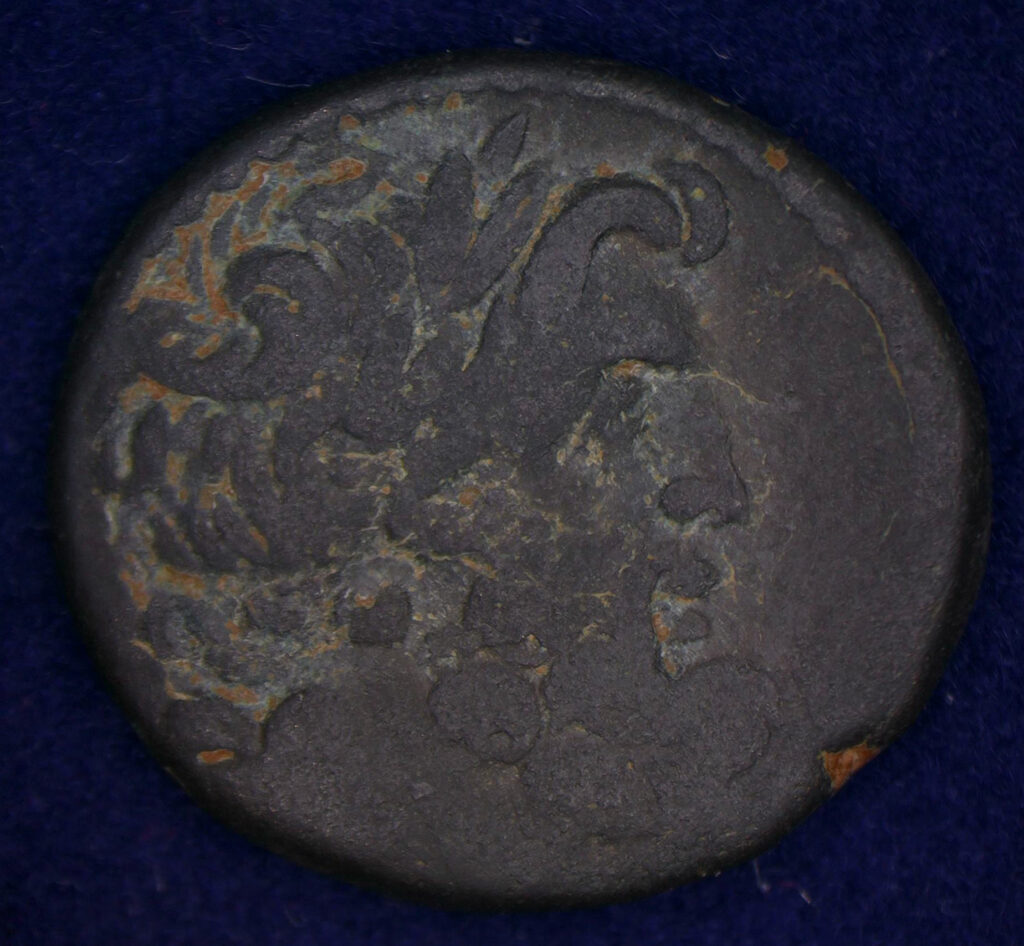
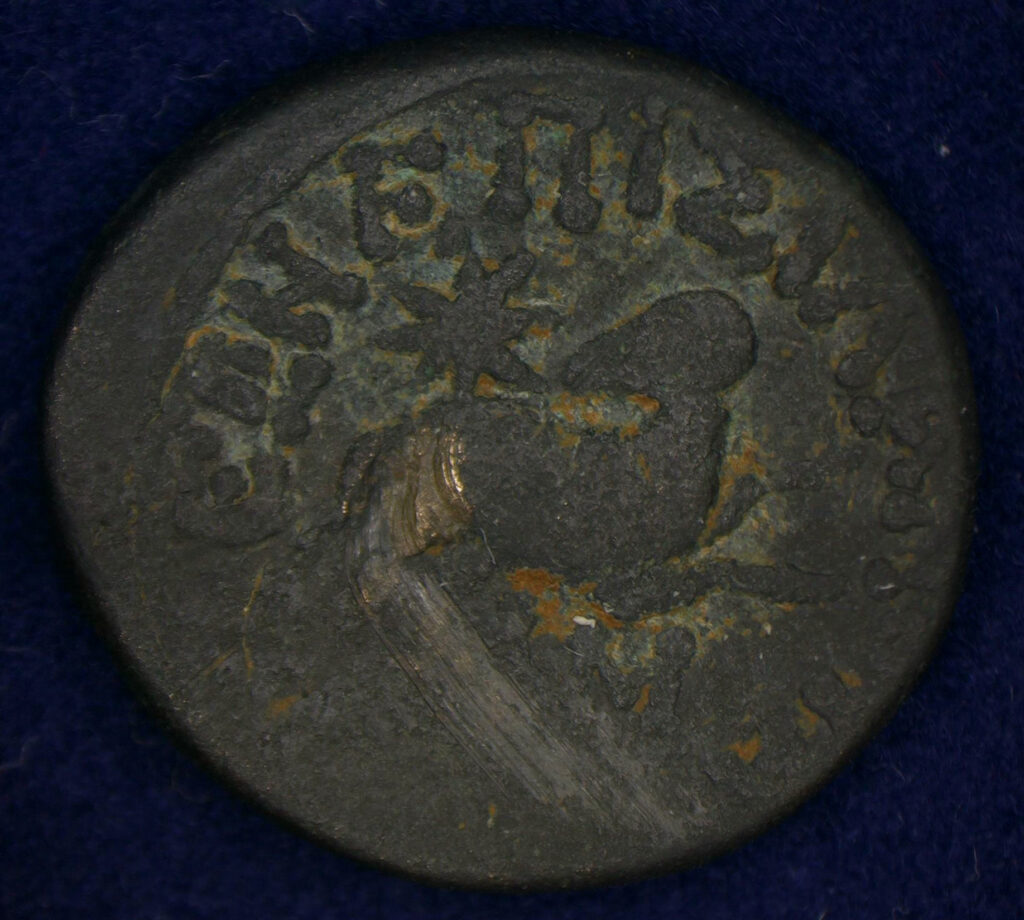
However, for the sake of eye appeal, moving forward we will work with the lovely Bronze coin below.
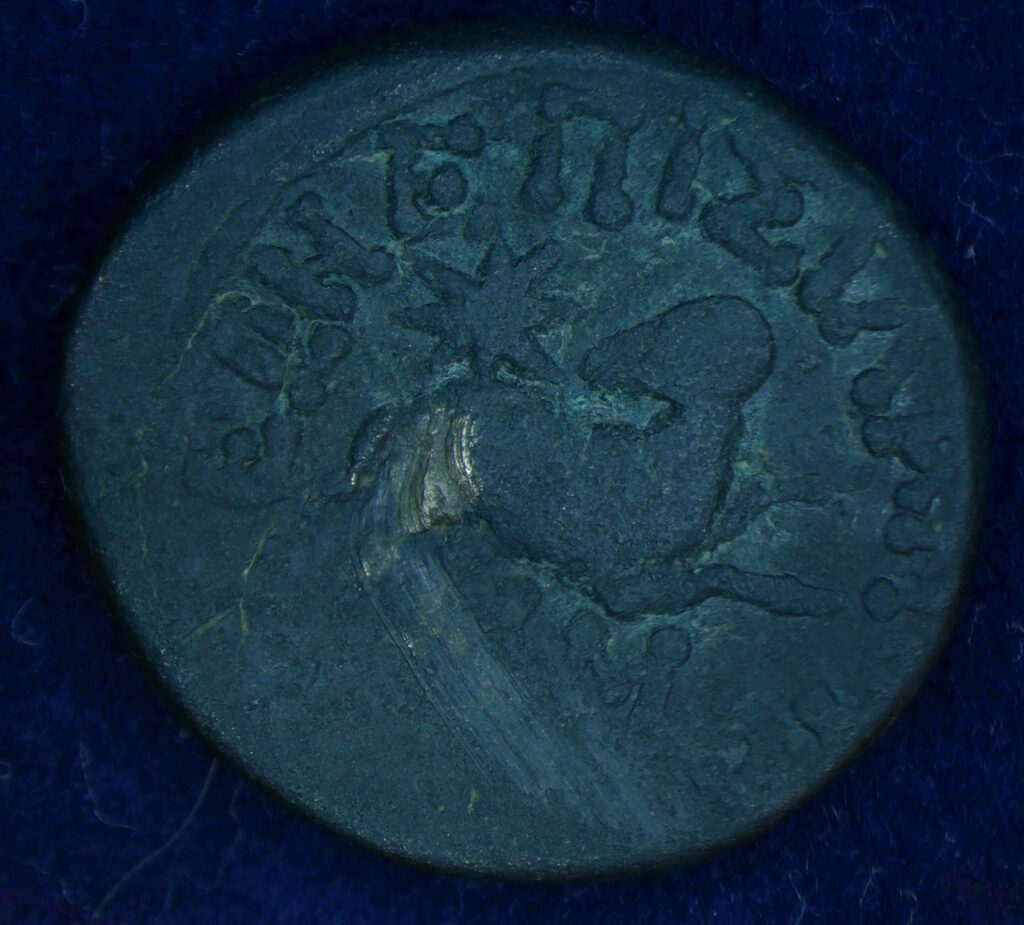
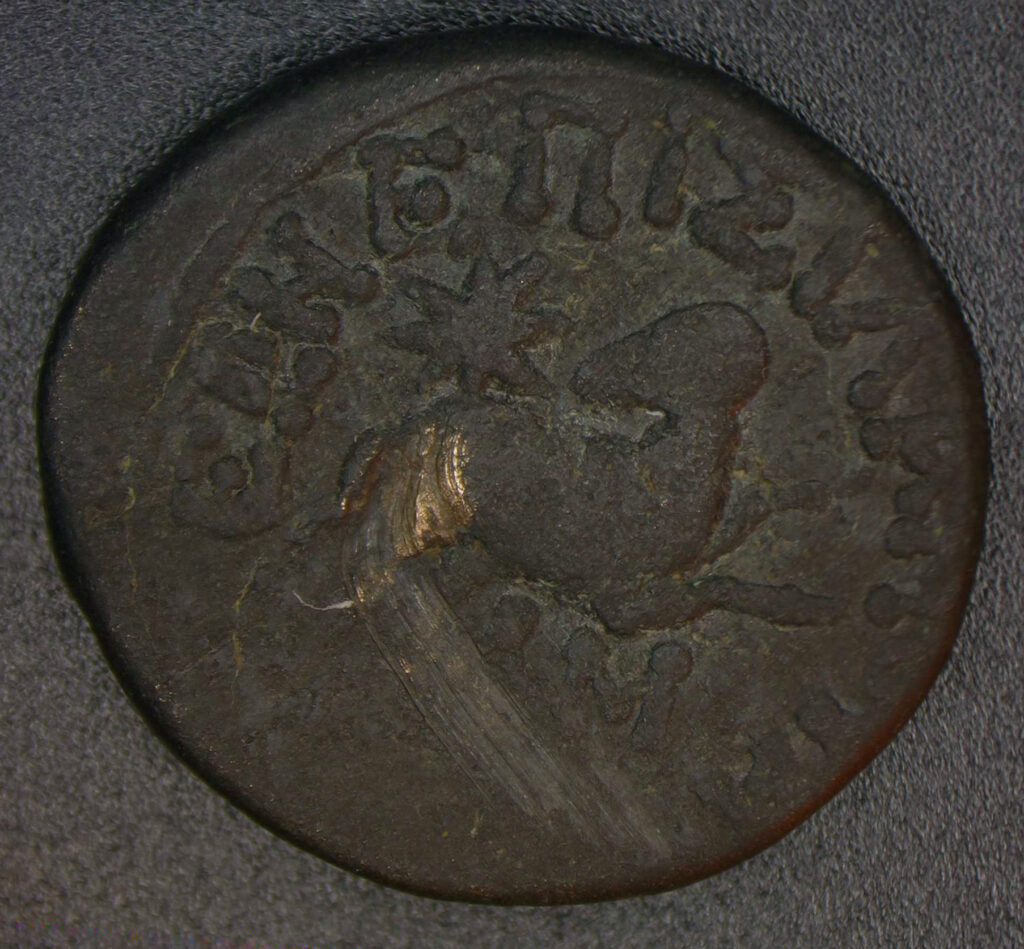
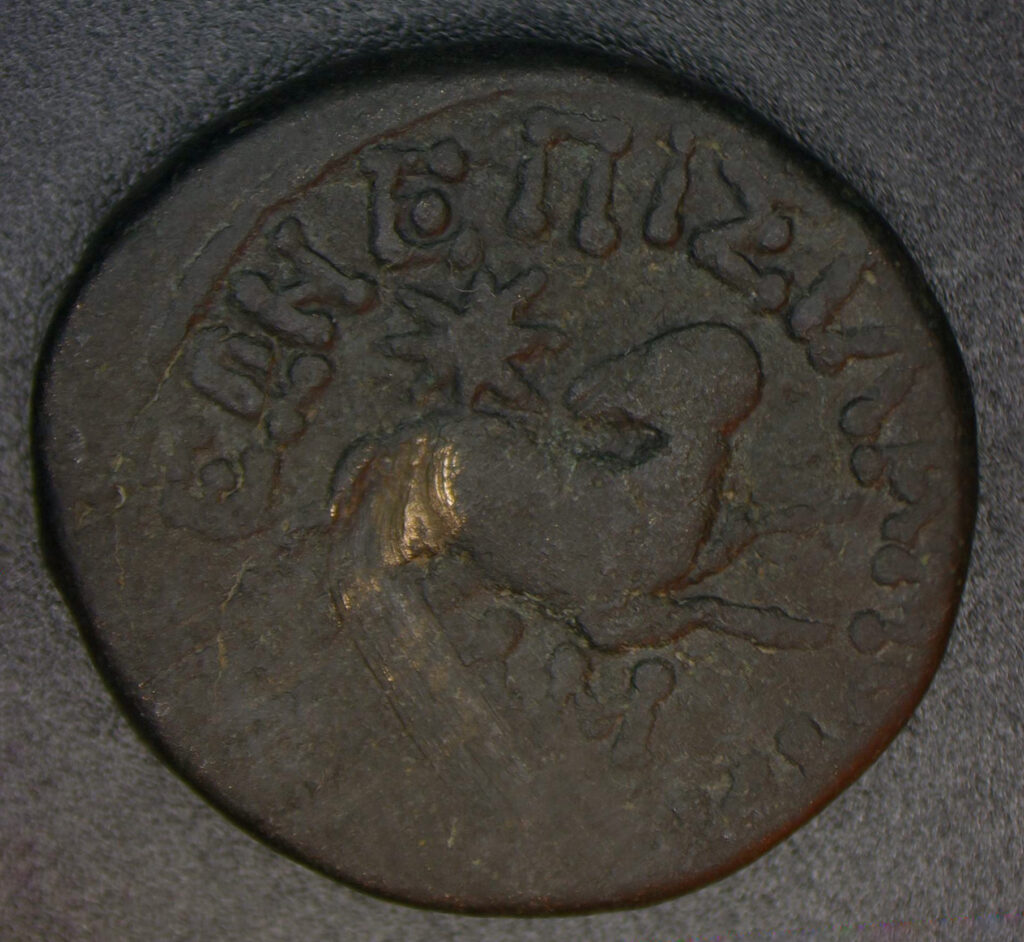
From the noted microscope camera setup, I took these below photos. This is the coin as I received it. Using it’s style and Greek legends as determining factors, it became clear that it was a earlier provincial Roman coin from the East.
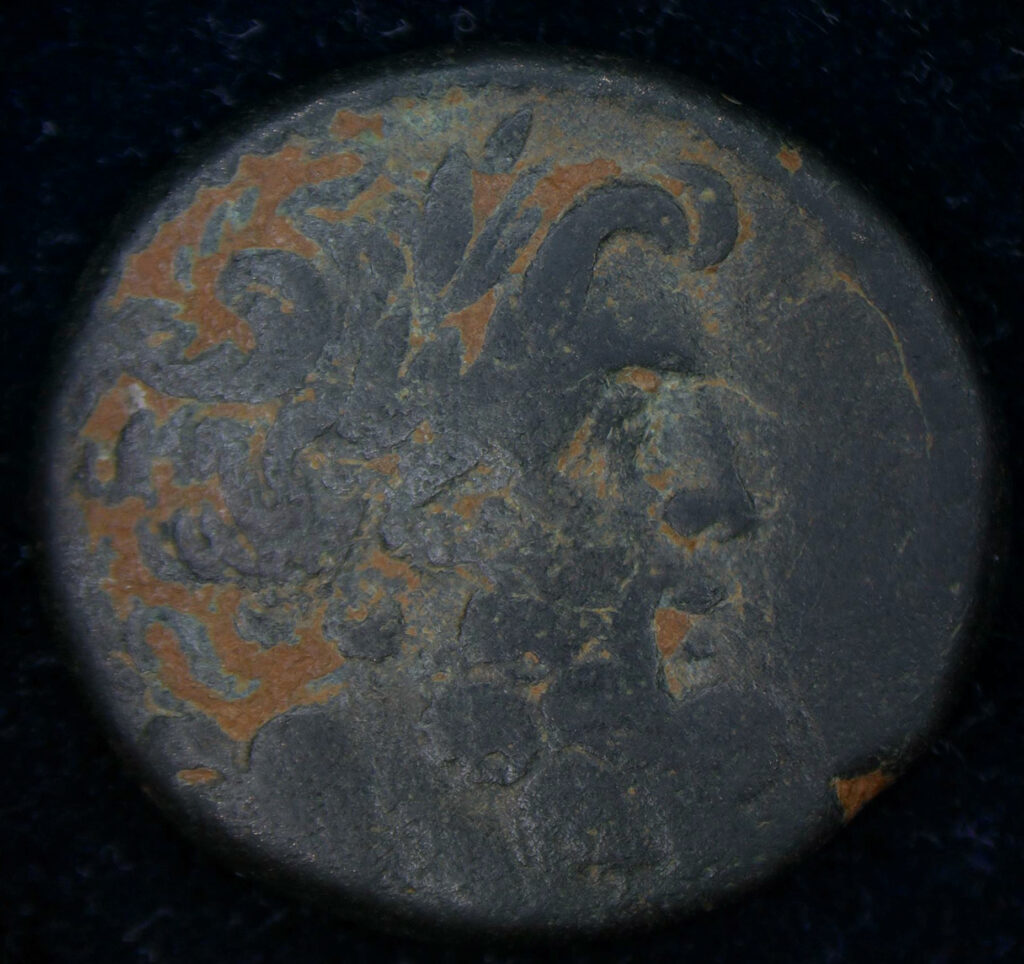
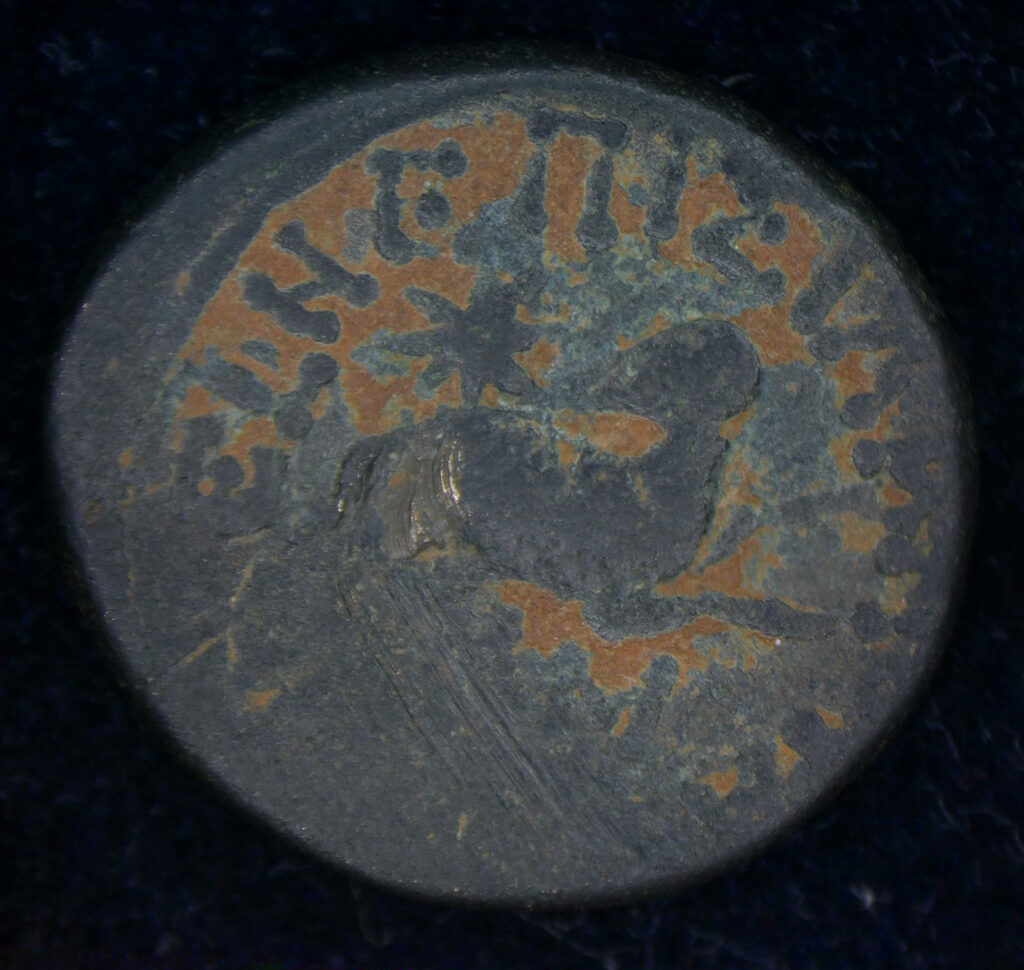
After some more research and asking around to other collectors, I was able to identify it as a Trichalkon under Augustus known as the Star of Bethlehem coin.
Antioch, Syria, AE Legate issue under Augustus. It is from the actian year 44, meaning it was struck between 12 to 13 AD.
Michael Molnar, an astronomer, believes this coin depicts Jupiter’s occultation of Aries in 6 B.C., the most probable “Star of Bethlehem.”
Struck under Quintus Caeceilius Metellus Creticus Silanus.Dates: AT for age 12. BM, ΓΜ, ΔΜ for age 18. (Actian Era began 31 BC)
https://en.numista.com/catalogue/pieces140429.html

4. Making a plan to clean
Before diving right in with a harsh tool, it’s best to make a plan on what tools you are going to use for the job.
For 99% of dirty bronze coins, you should start with a very very long soak in distilled water. Between 2 weeks, a few months, perhaps even a year. Periodically testing how tough and impacted the dirt remains with a bamboo skewer. These long distilled water soak allows for these deposits to become loose.
The more loose the deposit, the less harsh tools you have to use, the less chance of damaging with harsh tools, etc. etc. Patience can save coins from obliteration with harsh tools. Many coins do require scratch tools to dislodge dirt, but this should not be your first line of attack.
Once it’s done soaking, use a bamboo skewer under microscope (or not) to attempt to dislodge these deposits the nice way. The should always be plan A.
If they are stubborn (which I am guessing they are), using a diamond tipped pin might be the best tool for the job. For the coin pictured above, the deposits are tiny and close to the patina and in between details. This requires the finest (tiniest) tools available should they not simply dislodge with lengthy soaks.
4. Soak time
Any old glass or plastic jar (metal on metal might scratch coin) with some distilled water will loosen deposits to make cleaning safer for the coin.
Do this for as long as possible.
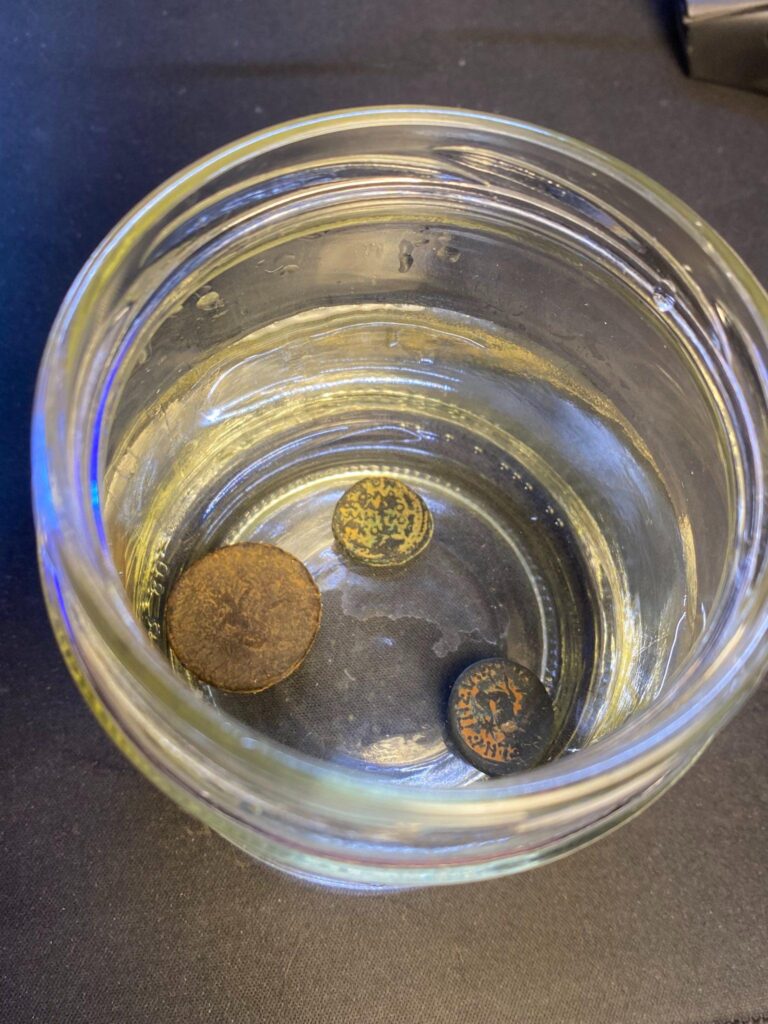
5. How long to soak?
No ancient dirty bronze coin was fully cleaned the day it was received (properly).
I usually have several coins soaking at any given time and rotate between them checking in on them every few weeks.
Generally the longer a coin soaks in distilled water, the better you will do in terms of removing the deposits without using “Scratch Tools”. For some crusty coins this could take a year. I recorded the below video only 24 hours after this Provincial Bronze Roman coin coin first placed in distilled water.
As you might imagine, this was not long enough for them to be easily removed. You can see this in the video from my microscope. There are still very tough. I could just go at this coin using a pin tool, but I would risk unnecessarily scratching it when if I had waited a few more weeks, they would easily dislodge.
This is not a statement against scratch tools in general. They have their place and can be great for removing top layer deposits on encrusted coins and hard to get details that no other tool can dislocate. I am guilty of over using, there is a happy medium.
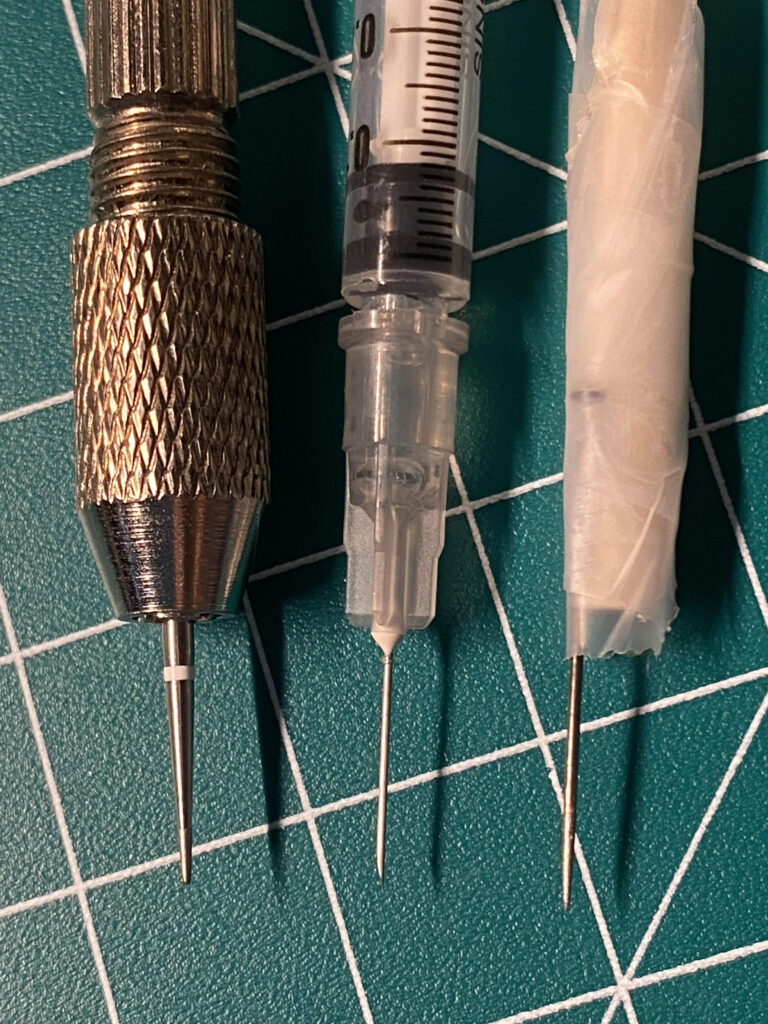
Finding the best tools for the job
Now that the coin has soaked for a month, I started testing different tools under full magnification. Even after a month of soaking, the deposits were very ‘solid’.
The bamboo skewers were too large to pick the deposits out of the tightest of spaces. They were not easily dislodging. Back to the drawing board…
I quickly learned that all my tools were too large and too harsh. The “diamond dusted pin tool” was slightly too large for this specific coin, and too abrasive. The slightest touch would erase the patina. I needed a tool with a finer point, and that was not abrasive to get dirt out of the tiniest of crevasse.
I had to build a tool for the job. This is what I built.
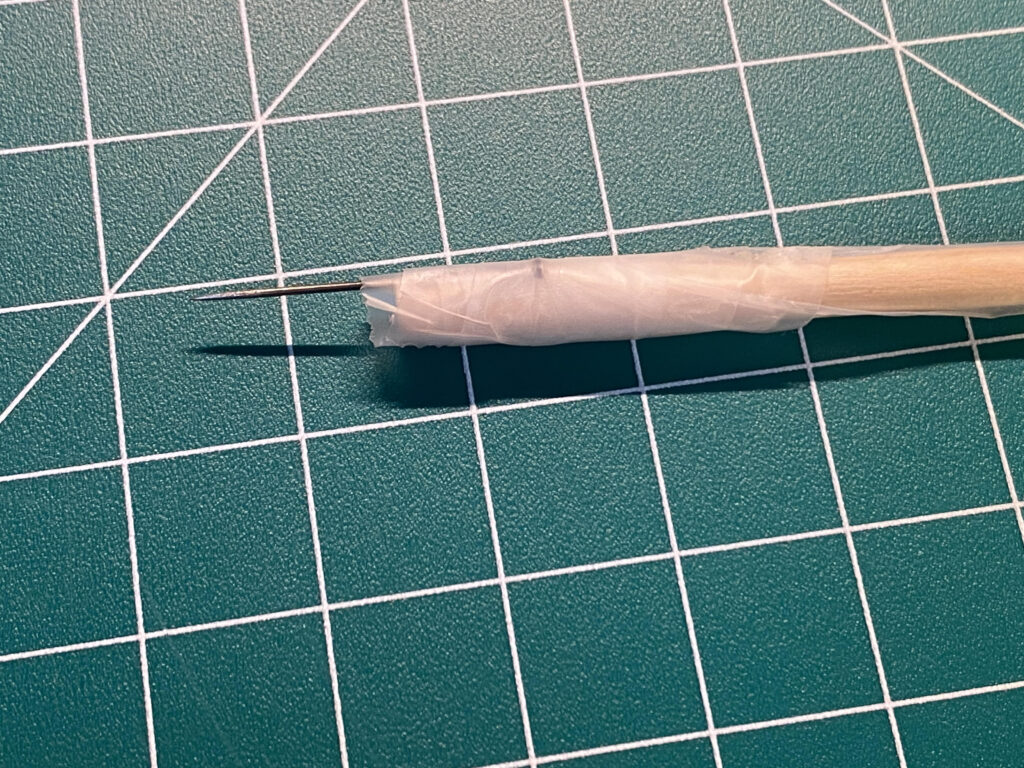
A sewing needle is not abrasive, and if its dull enough will not scratch the coin (easily) without pressure. It can be used to gently dislodge the dirt which can be brushed away. It’s a very tedious process, but the results will speak for themselves.
Note the fineness and bluntness of the sewing needle. That’s what made it such a great tool for this specific clean.
The slow process of removing deposits, one spec of dirt at a time.
After a few hours of removing deposits using my sewing needle tool, it became clear this was going to be a long clean.
Comparisons from before to half way done.
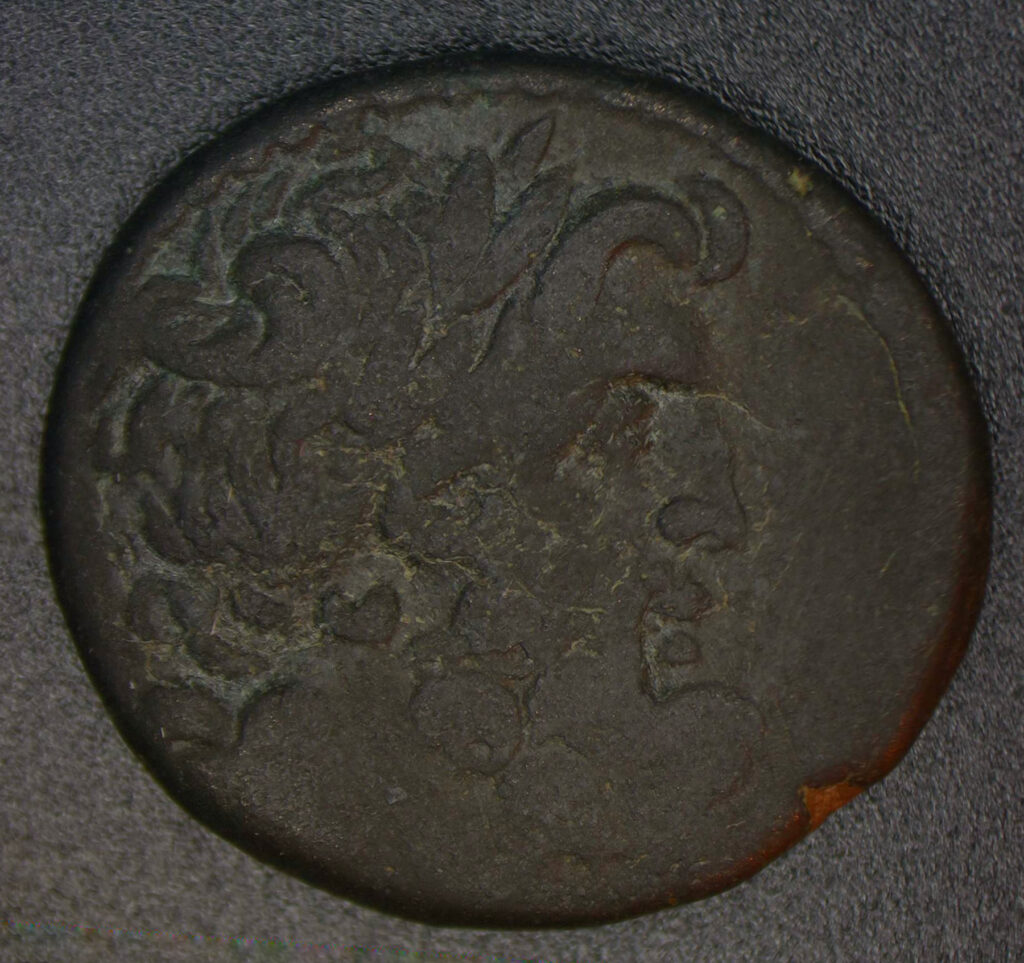
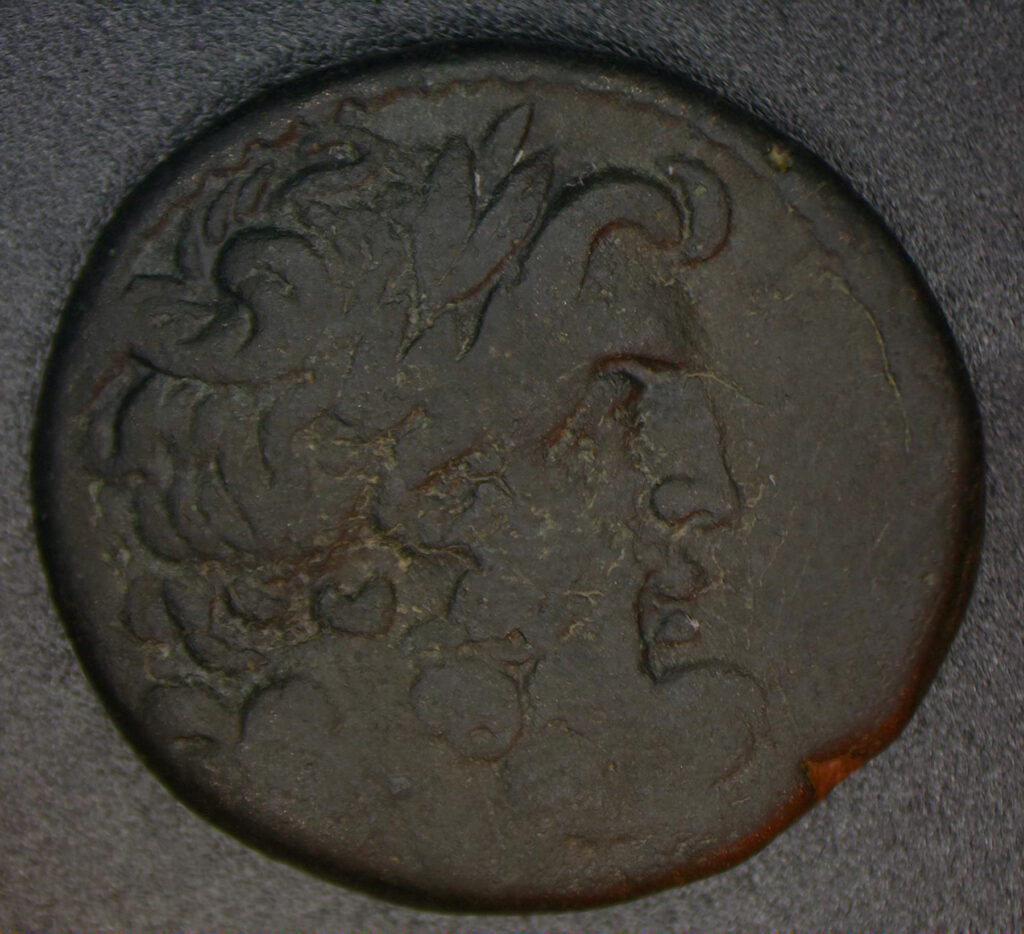
Final touches & Knowing when to stop
I got to the following point on the obverse and reverse, and wanted to do just a little bit more.. I knew I was near the end of what my tools and skill could accomplish. Not every grain of dirt can achievably be removed without damaging the coin

I decided to go a bit further. This was the result
Applying Ren Wax
Once I decided no more dirt could safely be removed without scratching or damaging the coin, it was time to protect the surfaces with renaissance wax
Here is the before and after images of applying renaissance wax to the finished surfaces
Before and After
I love your coins