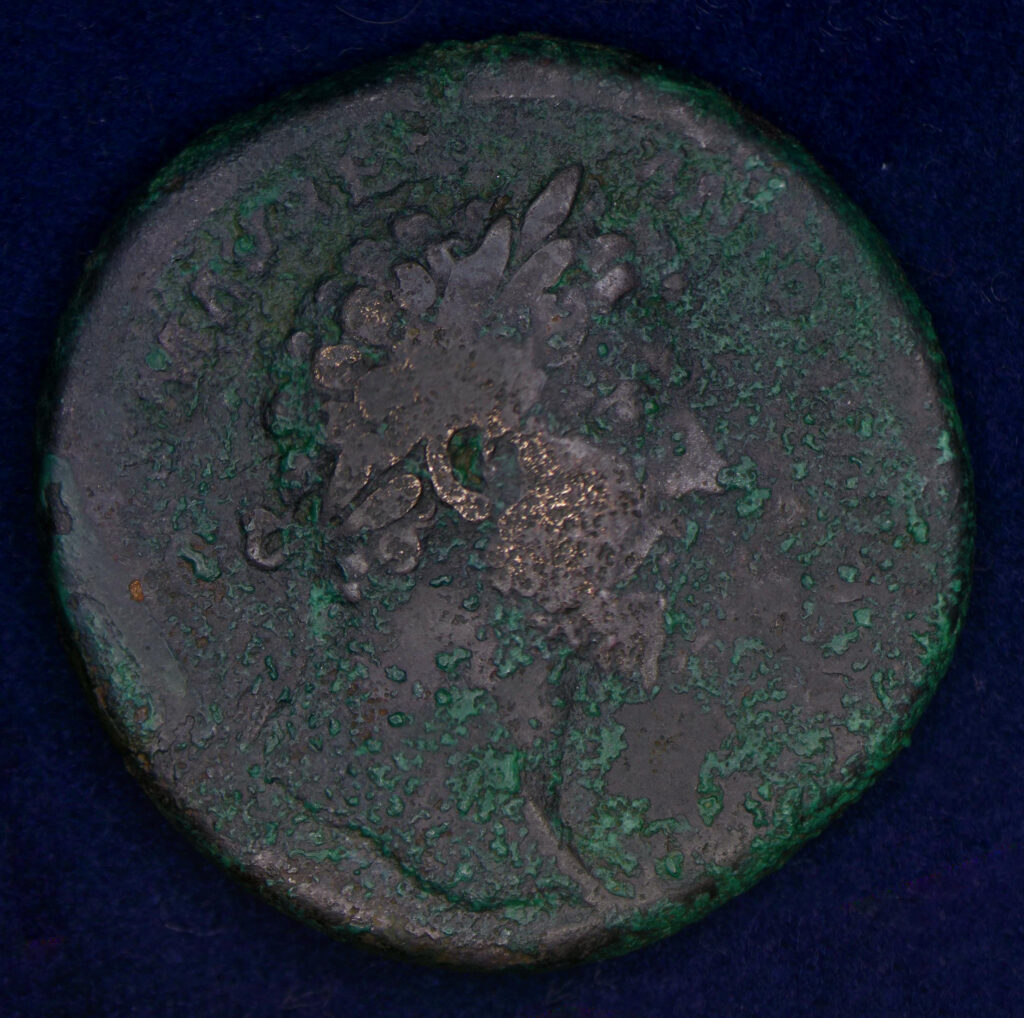
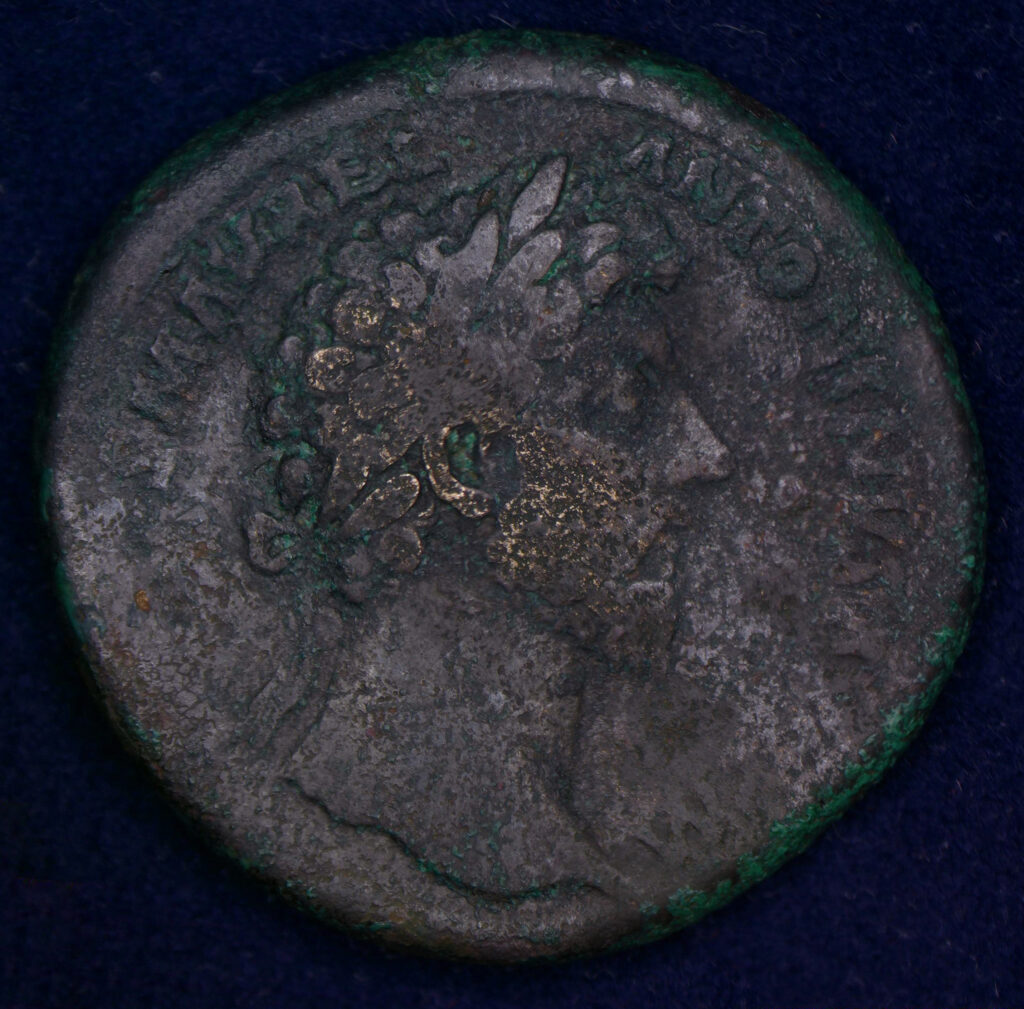
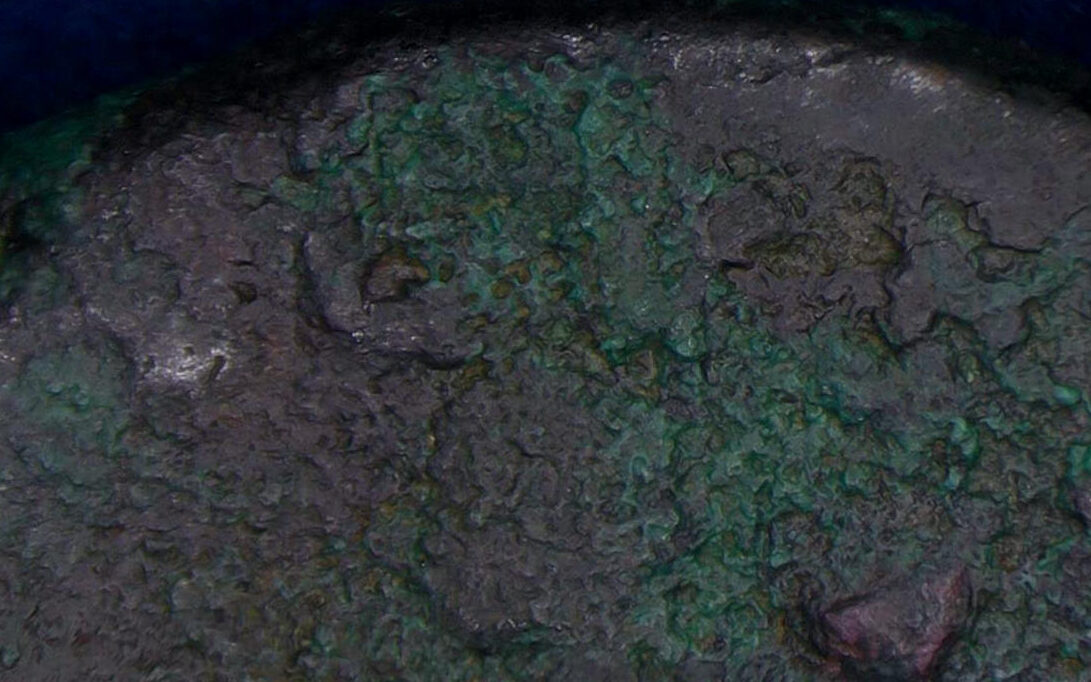
The sestertius as I purchased it
I found this coin for sale on a bidding website. I purchased it for the higher price of 116 CAD or 80 Euro. I believe I was the only bidder. Even at minimum bid, this is about or around retail price for a piece in this condition (lots of deposits). However, I purchased it knowing this type of deposit and having removed it before, I felt like there was a good chance of removing them to reveal a nice portrait underneath. Also I enjoy coins of Marcus, I probably would not have purchased the same coin of Domitian or Antoninus.
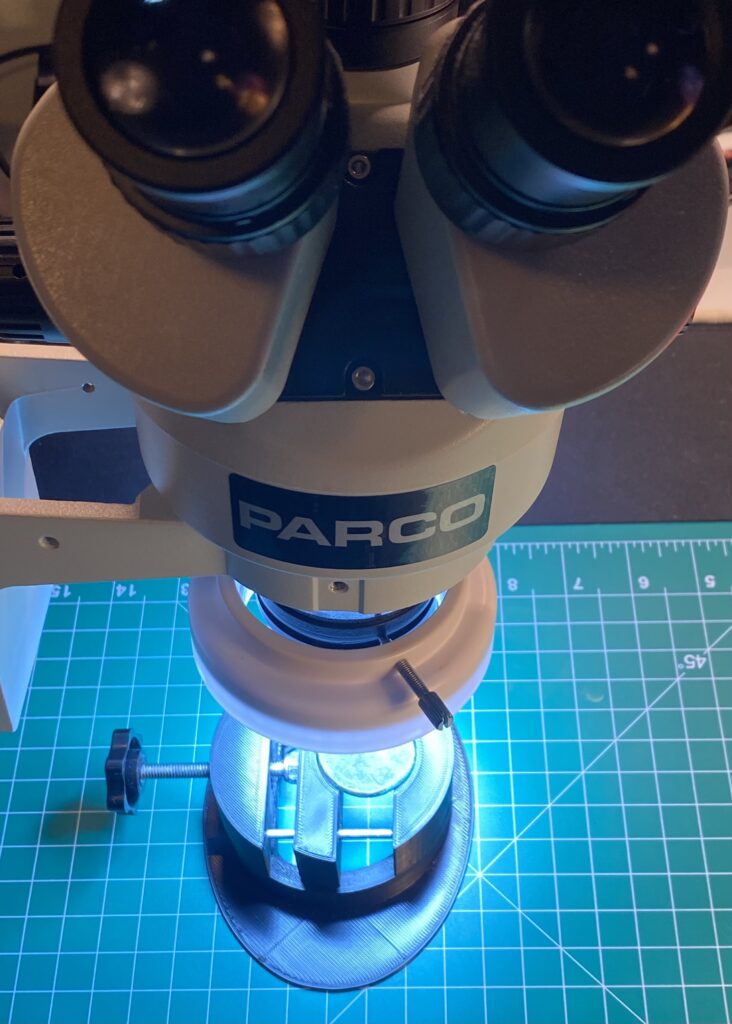
Below are the photos I took when it arrived after a month. It was a long trip from Eastern Europe to North America via standard post. I used my microscope camera to take a dozen overlapping photos, and used compositing software to stitch the images together. I did this for the obverse and the reverse.
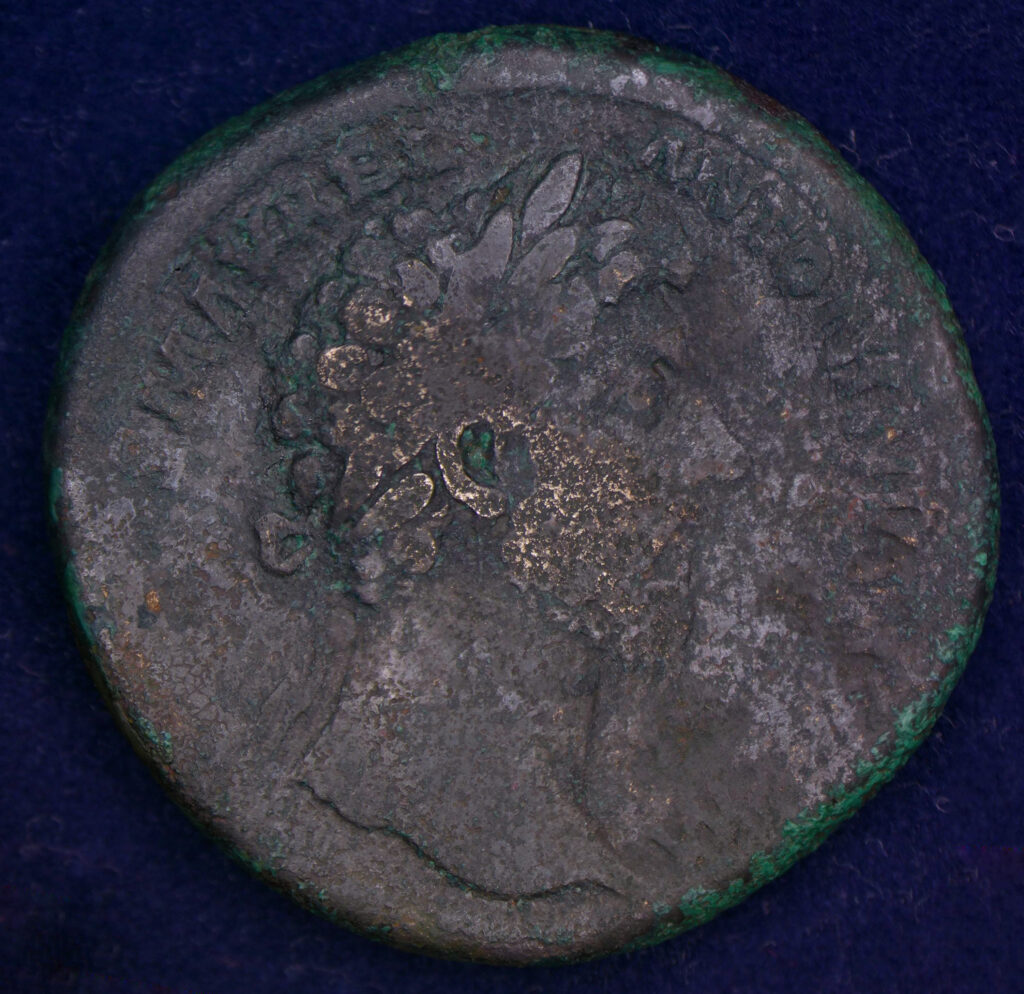
Observations before cleaning
Before cleaning starts, one must identify areas of weakness and no-go zones. You must identify what not to do first. Only then can you reduce the chance of accidental and unnecessary damage.
- Bright bronze gold-like colour on the obverse cheek and reverse body is the core, “patina-less” surfaces of the coin. These areas must be avoided during the cleaning process with both brushes and tools. Any interaction with this area will result in permanent damage. If I were to touch this area with a tool it would result it very bright bronze marks of the interaction.
- There are also very questionable areas of “weakness” where the coin is corroded straight through. Those areas should not be touched either. By working around this hole into the core, I risk expanding it. These are black holes which will only get bigger. Best to leave it alone.
- However, in good news, the Green deposits are rock-like and raised over (for the majority of coin) a hardened patina. This means that when they are removed, there should be great surfaces below.
Cleaning: Obverse Progress pictures
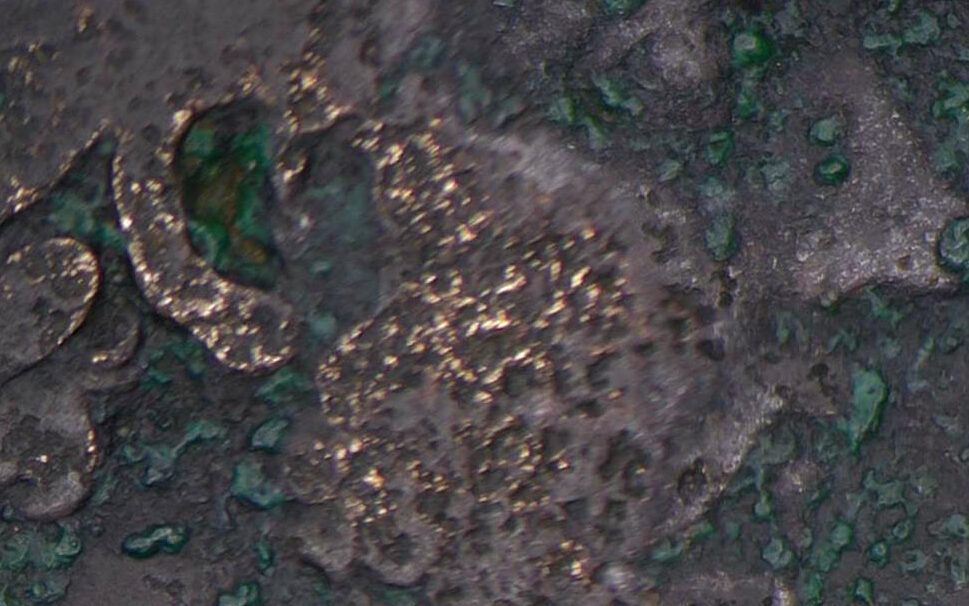
After finding points of weakness, plan I started removing deposits near the face first to get a “lay of the land”. I tried different tools to find the balance between safest and quickest method of removing them.

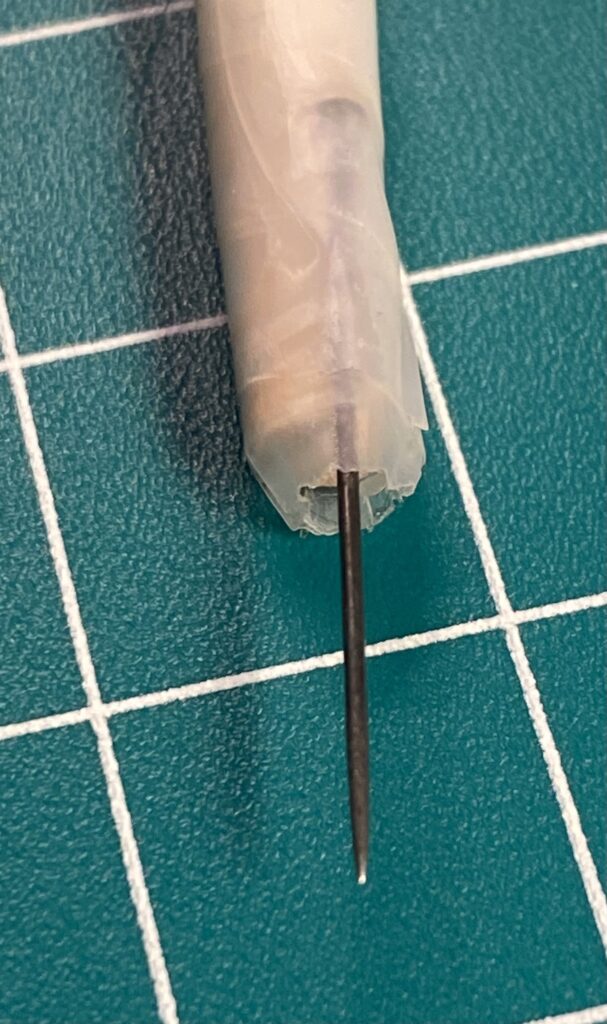
Below the green deposits near the face, I found these black deposits that these green deposits stuck to. This came off best using a scalpel and a crush tool. I also used a sewing needle.

I let the coin soak in distilled water for a month before doing final touches. An unintended positive effect of the soak was darkening of the bright cheek bronze.
The majority of the time spent last picture and the below picture was using a pin to remove very very tiny deposits only really obvious under microscope. While it is hard to tell what deposits I removed, you can notice a difference in sharpness.
At this point, I felt like no additional deposit removing could be done without damage to the coin or “tooling”. Knowing when to stop is very hard. I believed diminishing returns would occur for any further effort.
This is when I applied Renaissance Wax to protect the coin from changes and bronze disease.
Here is the coin after applying Renaissance wax
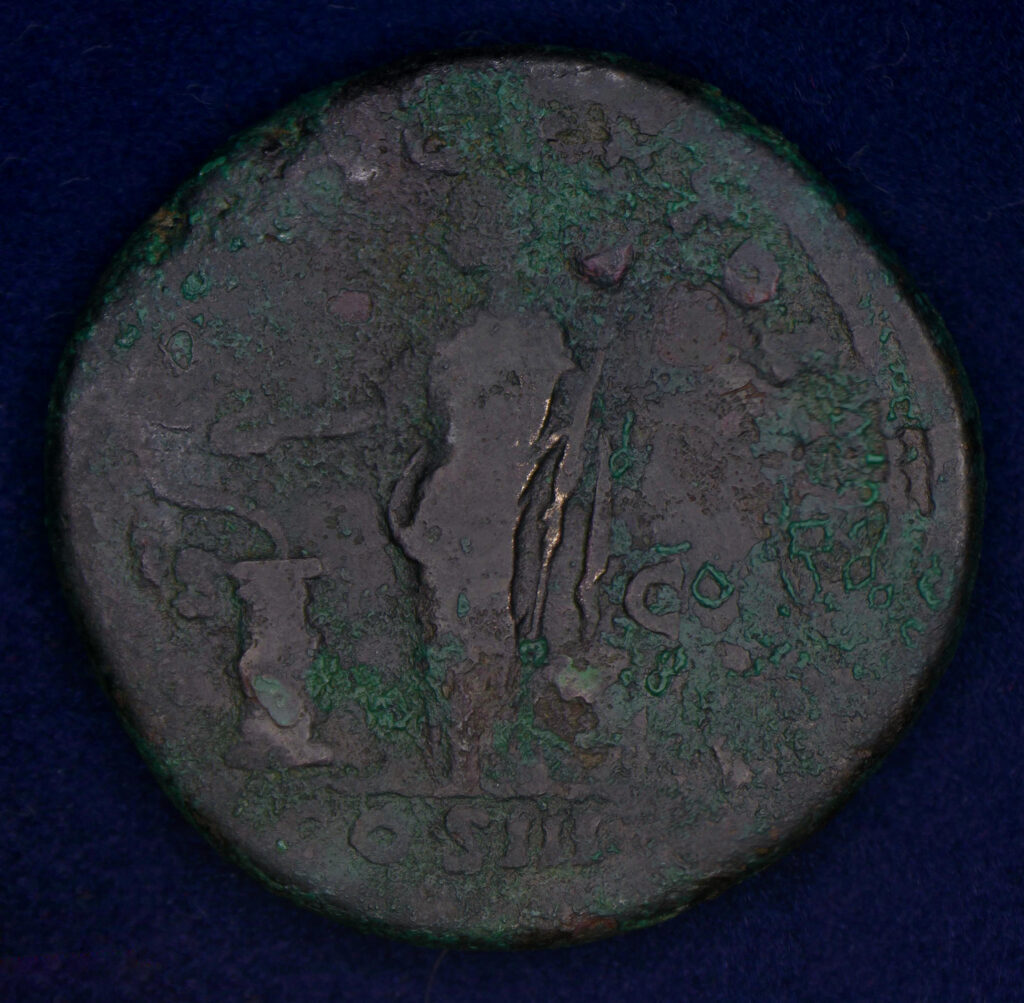
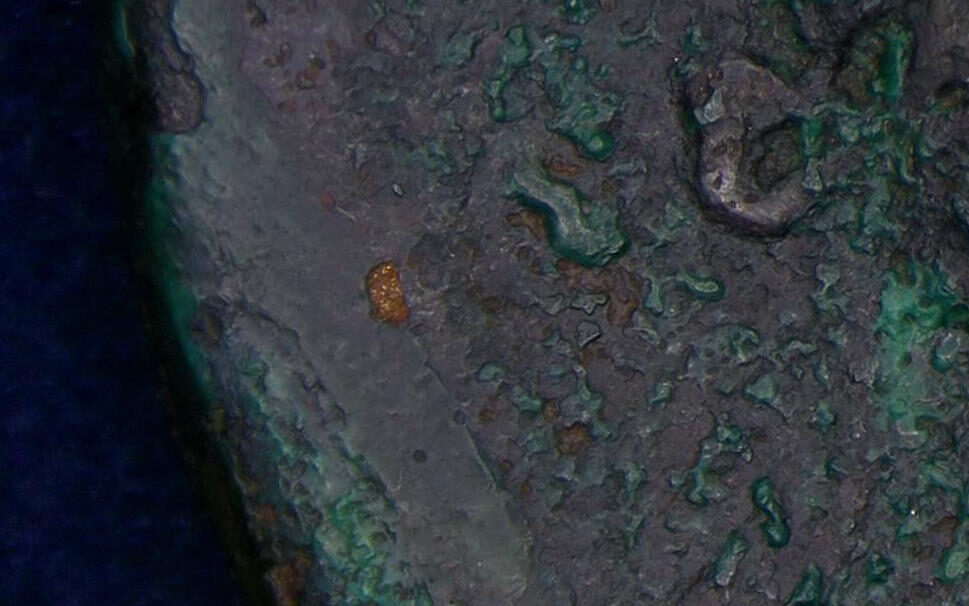
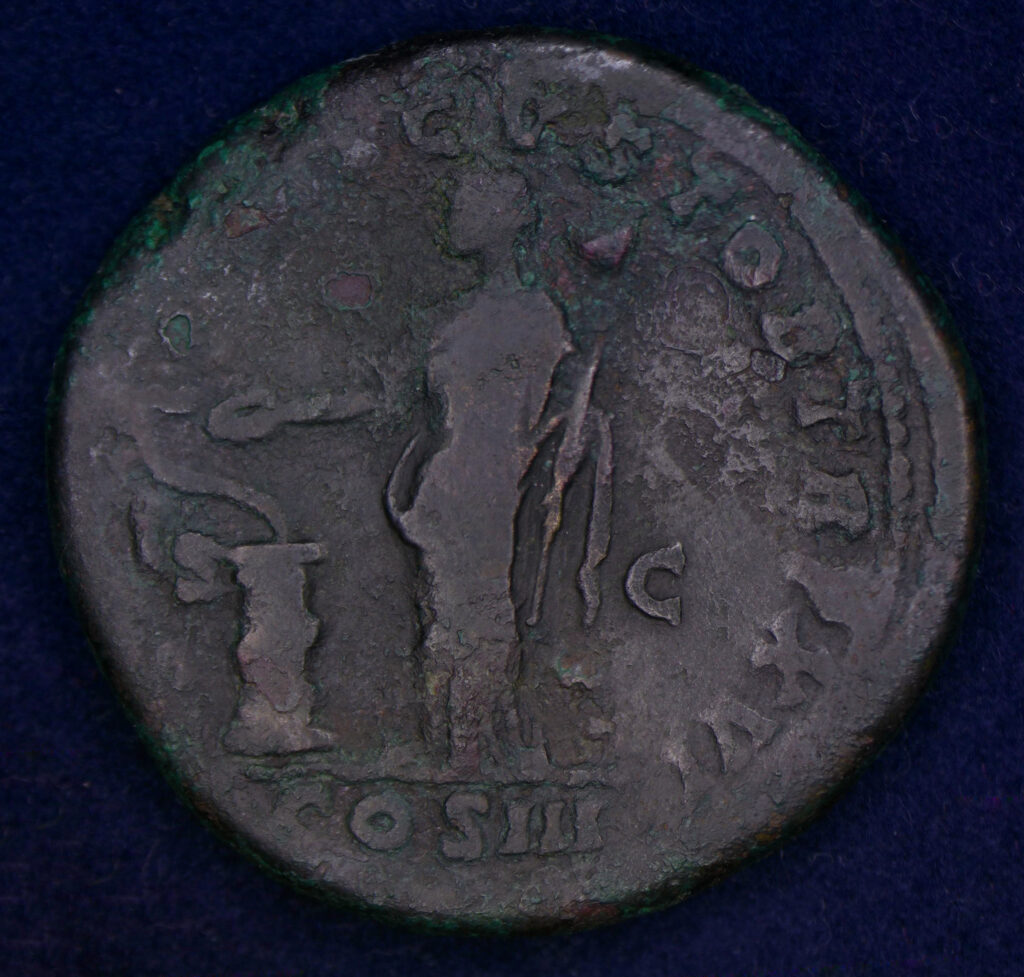
Reverse Progress Picture
Unfortunately, the reverse is in much worse condition than the obverse. The area around the head is particularly corroded under the deposits. Meaning there is a glass ceiling on “how clean” I can make this look before I damage the surfaces in a negative way. Unlike the obverse, I cannot go deep on the details on the reverse.
I had an easier time near the bottom right of the reverse, which is where I started. The below patina was much stronger.
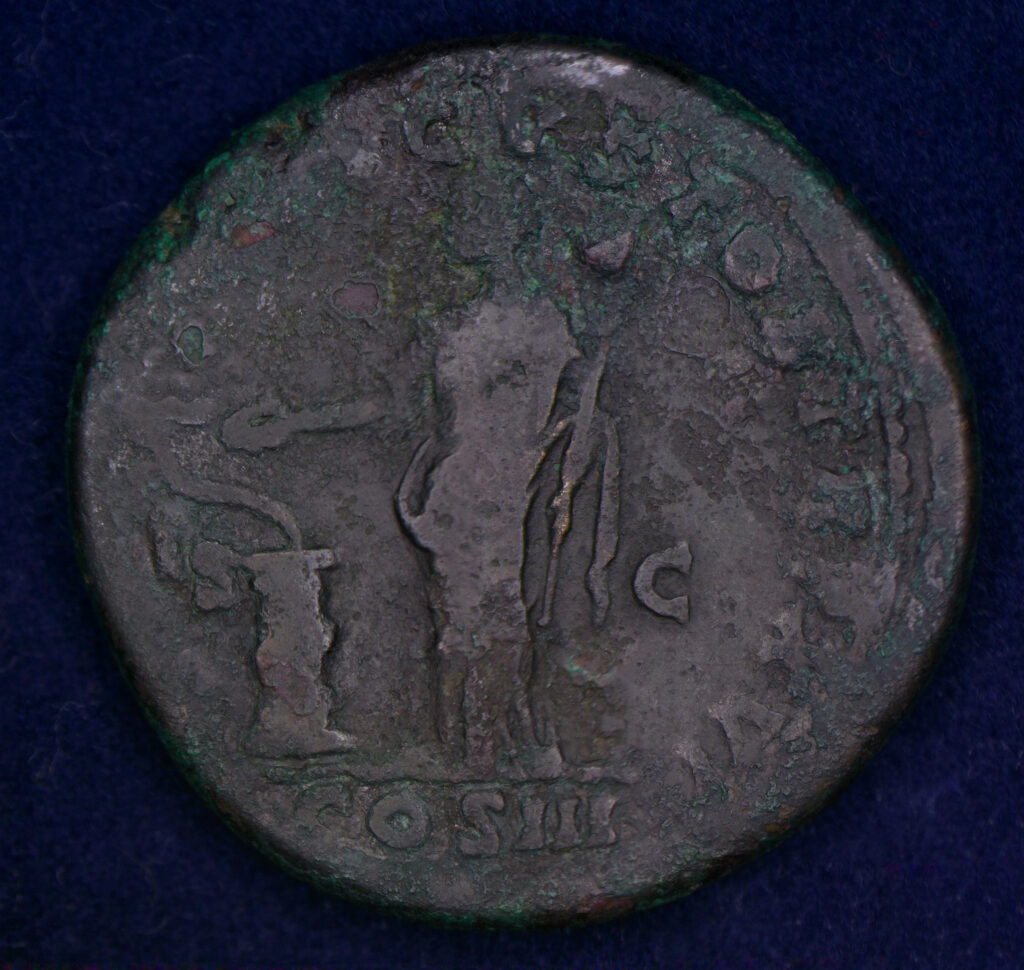
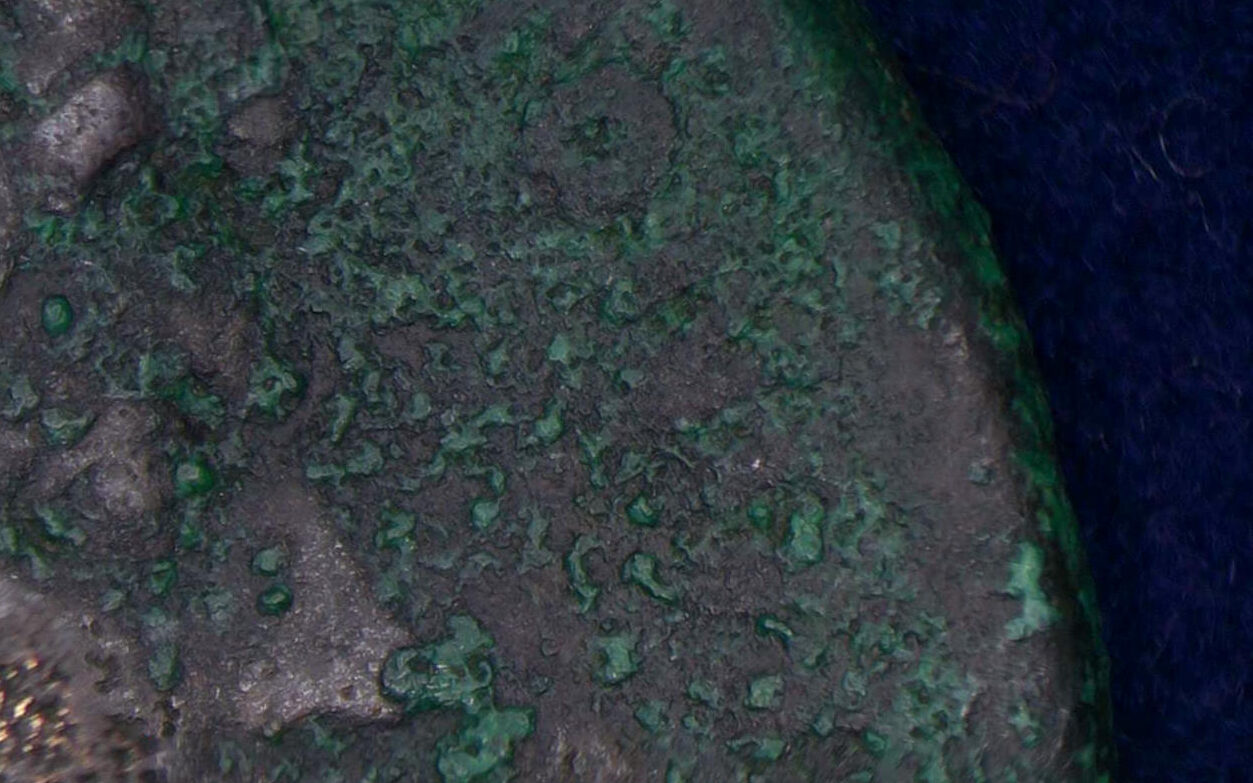
I decided to give the top (near the head) a very careful attempt. I was able to remove much of the green deposits without causing serious damage to the corroded surfaces below. I also worked on the legends with a pin. Previously, I have “gone too far” with these types of surfaces, so I knew this was a safe place to stop.
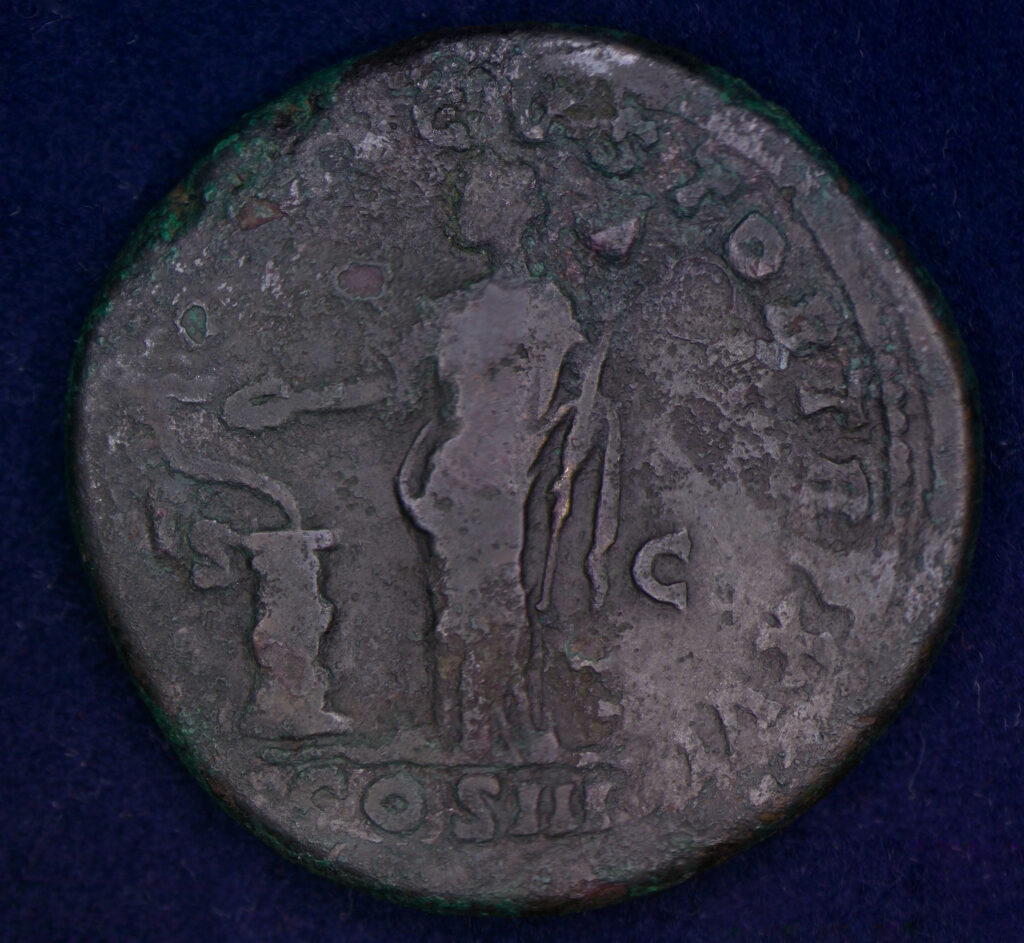
I applied Renaissance wax next.
Before and After
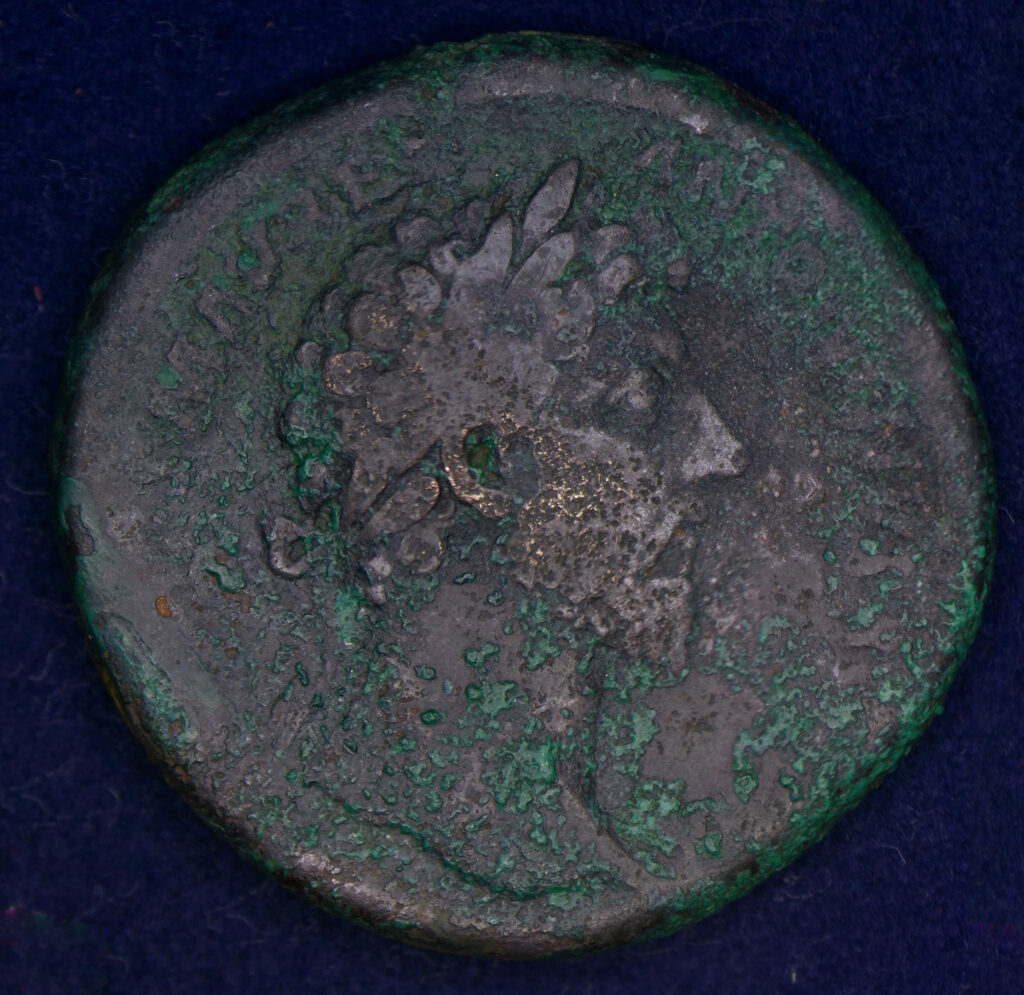
Final images
Slider comparisons
Video of the finished product
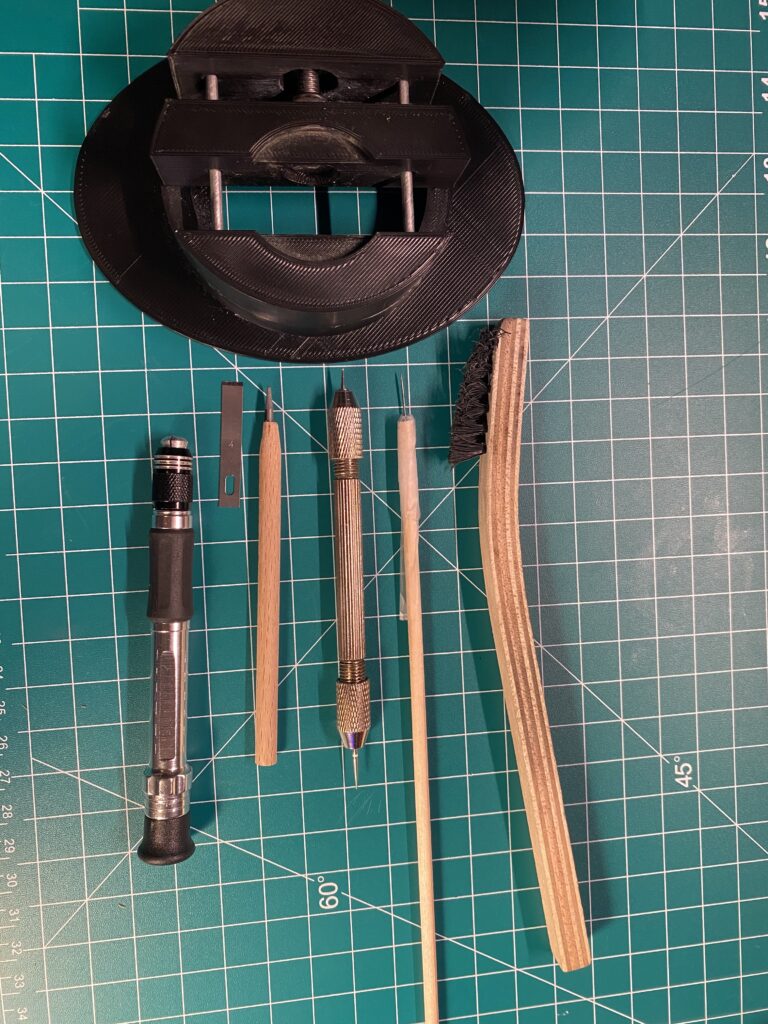
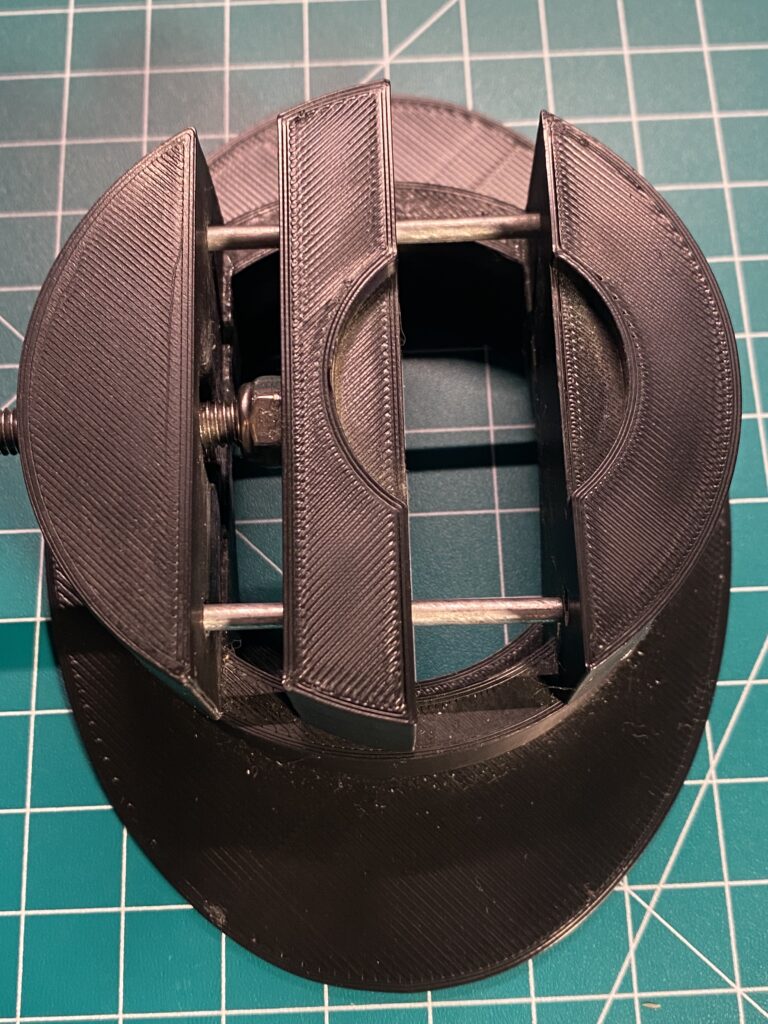
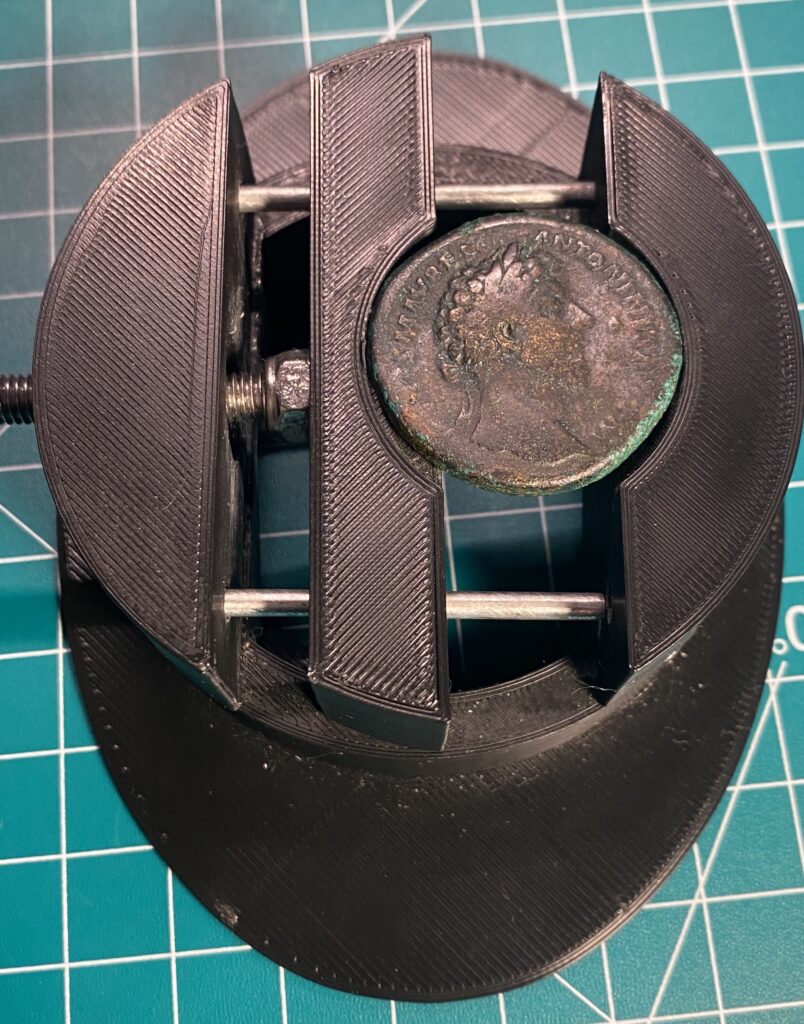
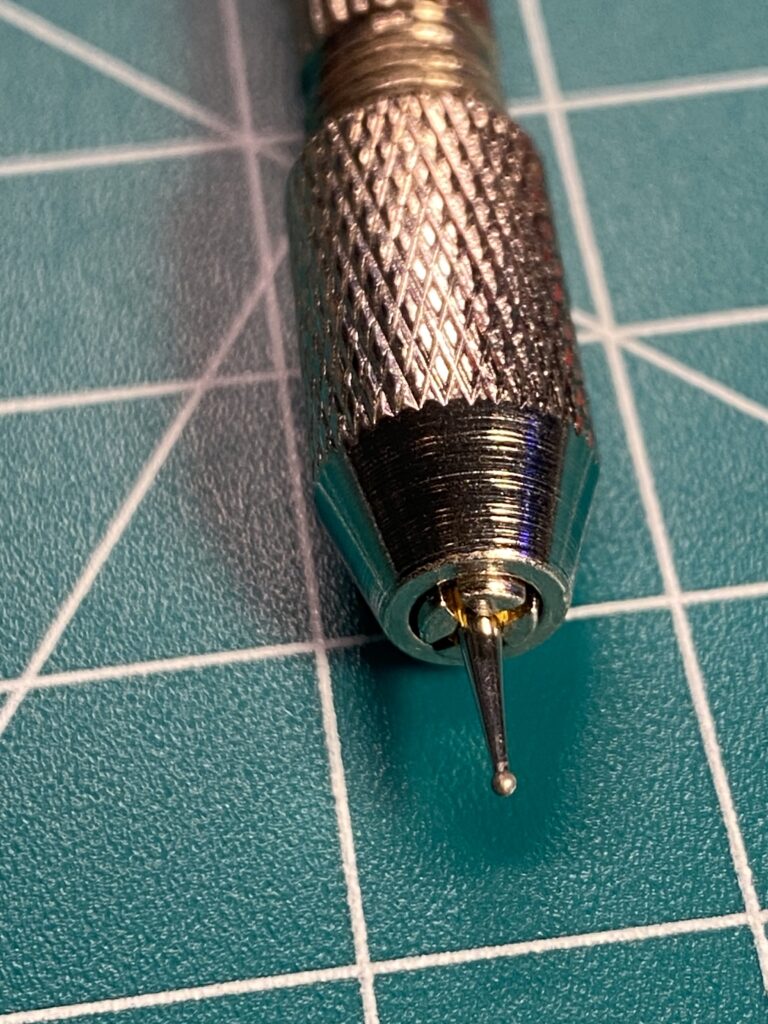
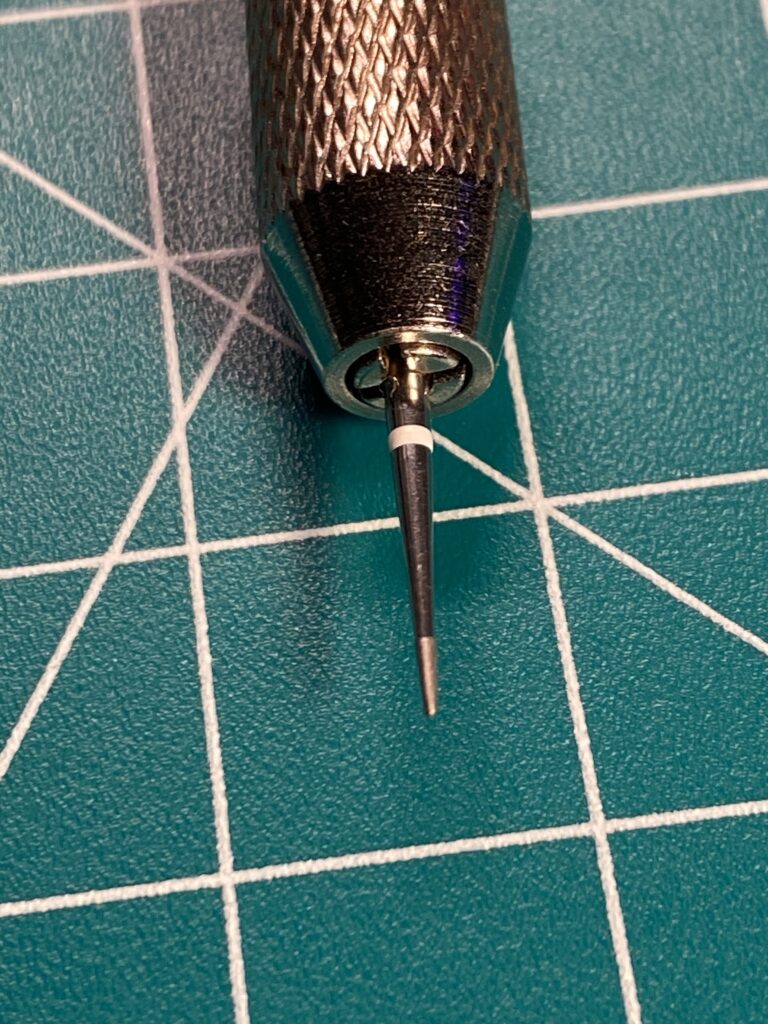
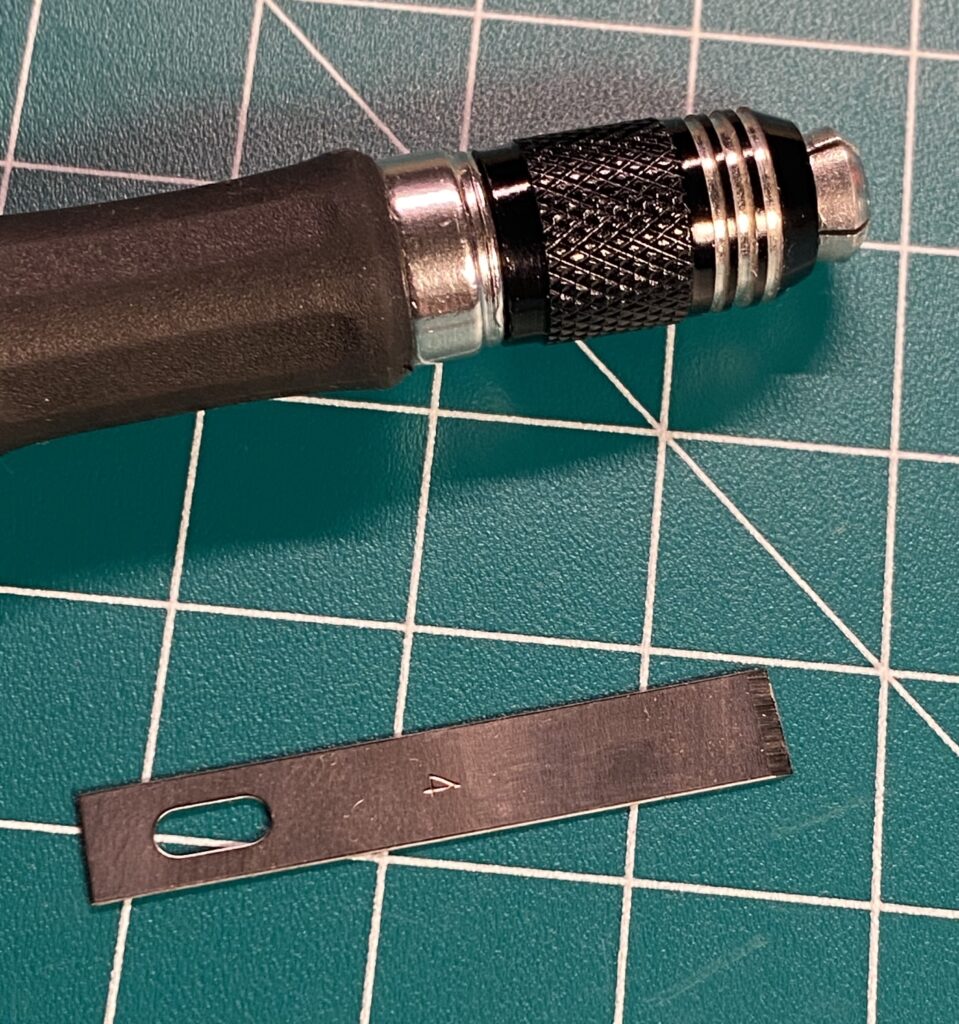
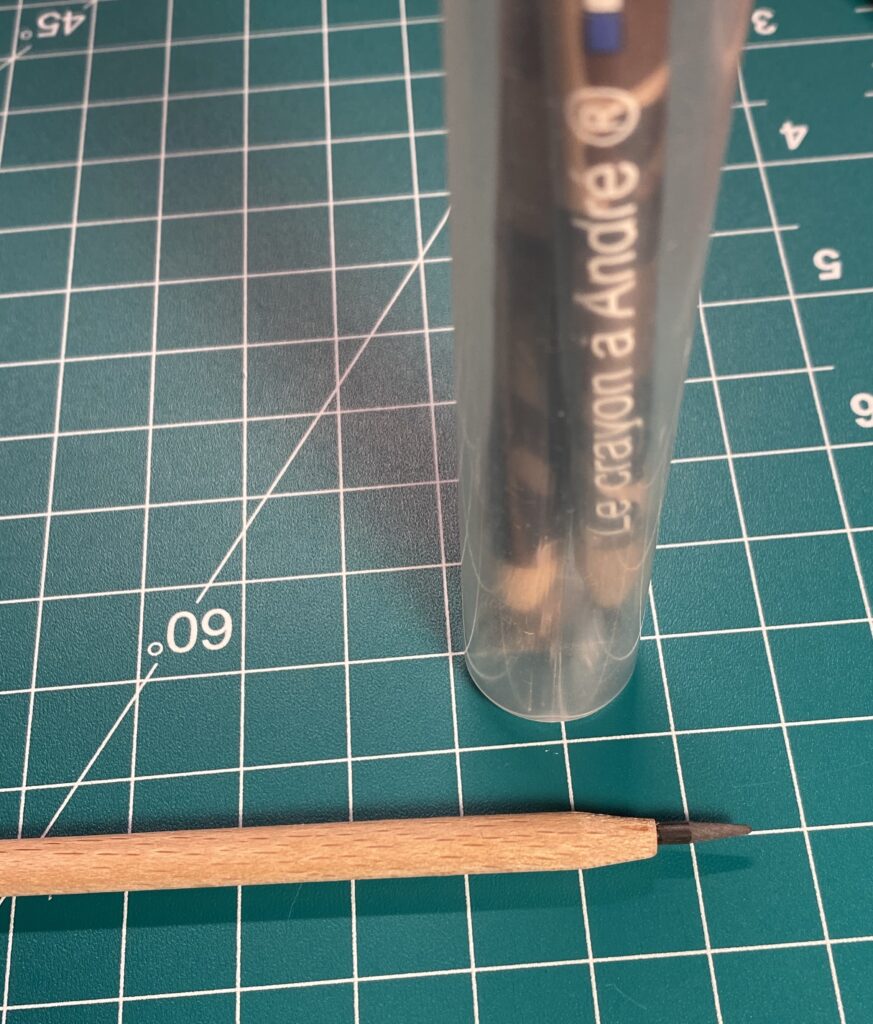
The Tools used
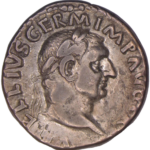
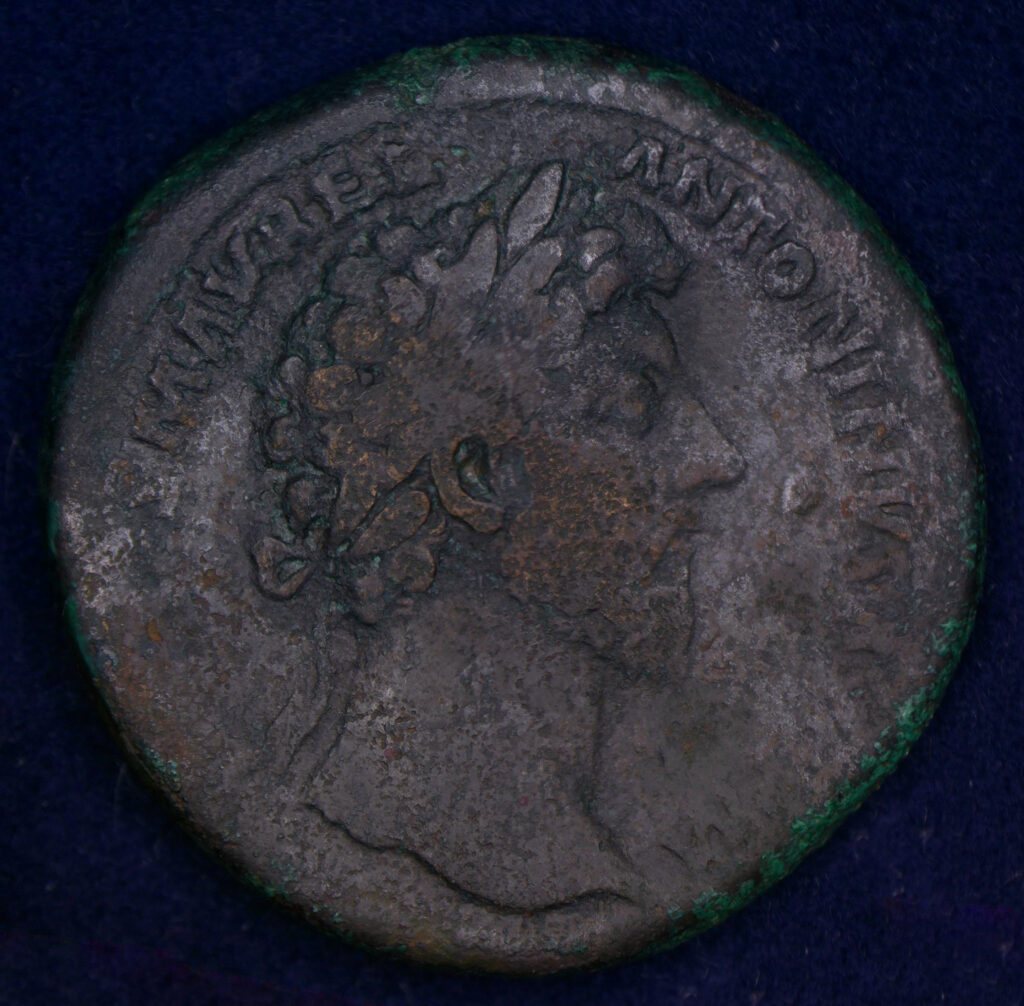
Identifying the coin
I’ve misidentified this coin about 4 times during the process of cleaning, which can be forgiven because in Marcus’s first 2 years of reign (161-162) it appears they minted many variations of the same sestertius with the slightest variations.
Until I had cleaned the reverse until it’s final state it was impossible to correctly identify.
Luckily a few variables allow me to make an identification.
- Laurette Head, facing right
- In the reverse, it notes “XVI” rather than “XVII”
Based on these two variables I can now I’d the coin as RIC III Marcus Aurelius 836, which puts this coin as minted in either 161 (first year of reign) or in 162.
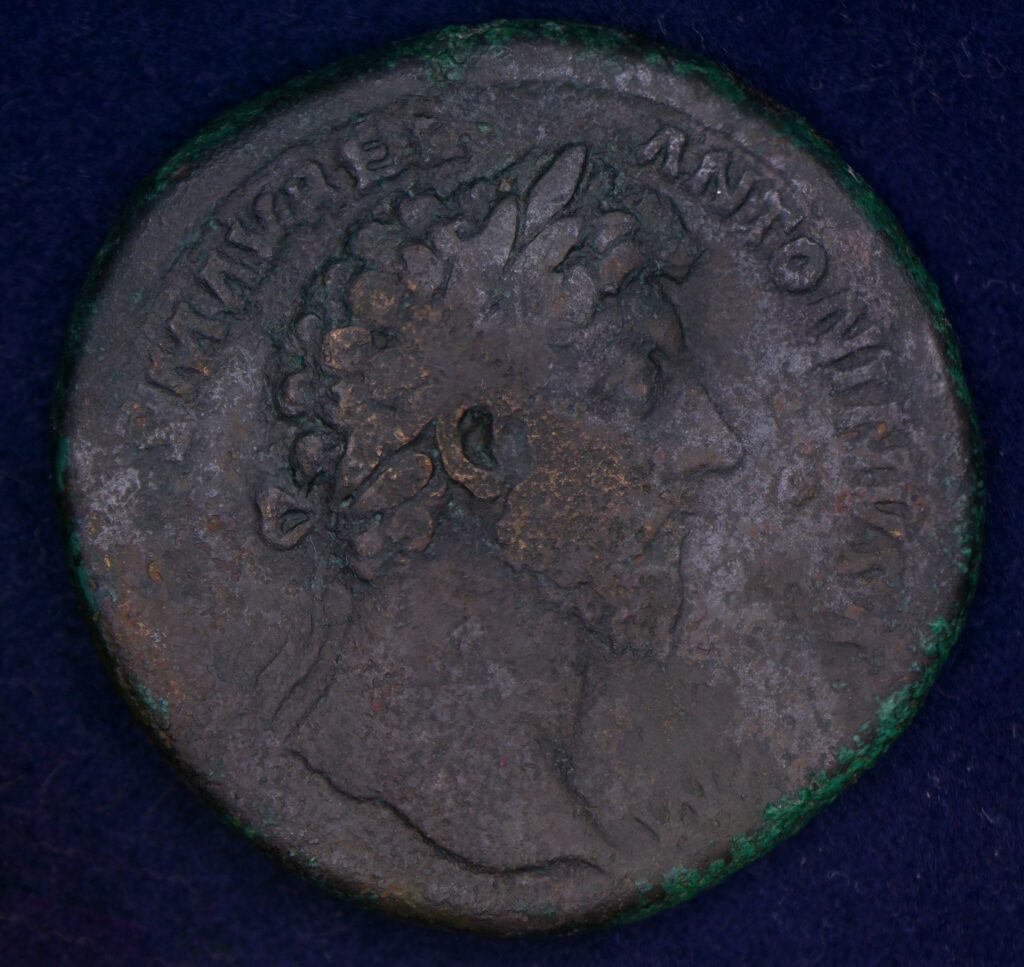
Coin Archives has a few examples of this variation, which appears to be less common than some of the other variations that continue into 163-4 AD.
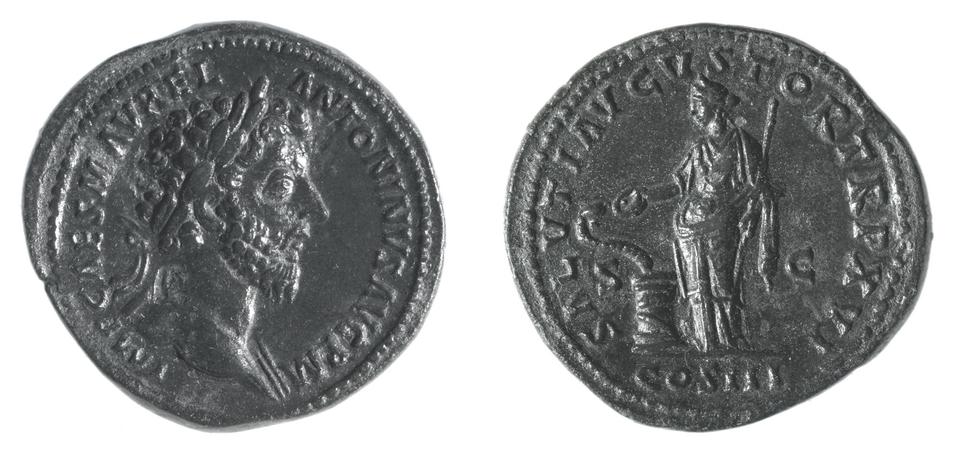
There is an example of my coin in the British Museum archives. They have had the below example since 1799 (that is some serious provenance). As you can see, this is a near perfect specimen. The patina is nearly perfect, and it’s of extremely fine quality which is rare for sestertius. Moreover, the strike is perfect and well centred.
It’s not a die match, however, it show that is the same type, notably with the spacing between MAVREL and ANTONINVS on the Obverse. You’ll notice the cleaning example is lower grade (Fine -> about Very Fine), has a weak patina, pitting and issues. That being said it’s still very attractive!
Thanks for reading!