As
Not all cleans are cheap 4th century slugs. Below is a risky, but high reward clean (if you are experienced enough to pull it off).
Until you have had years of practice, taking a scalpel to an extremely fine Nero As is not recommended.
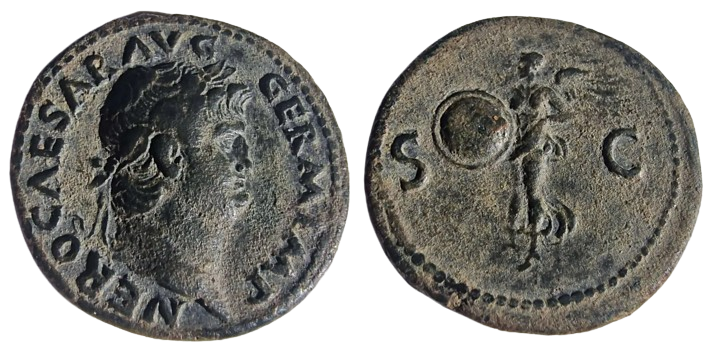
Before
From the before photo, you can see it’s encrusted with a thin layer of dirt that will require a steady hand to remove.
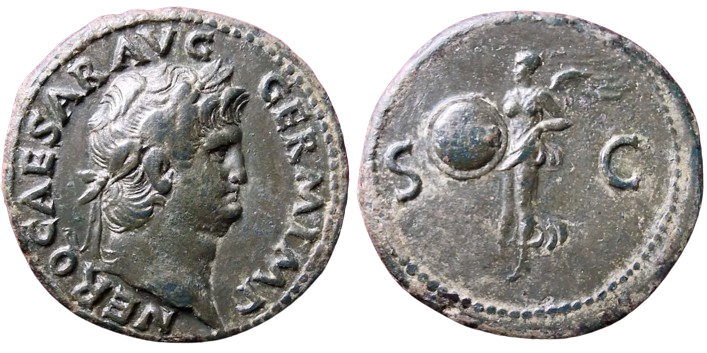
The patina below is stunning and has strong potential. The patina is thick, which also means forgiving during a clean. That being said, the slightest wrong move means permanent damage, which on such a high end piece is catastrophic.


Half way
After

Before and after Videos
Some videos to show the coin before and after
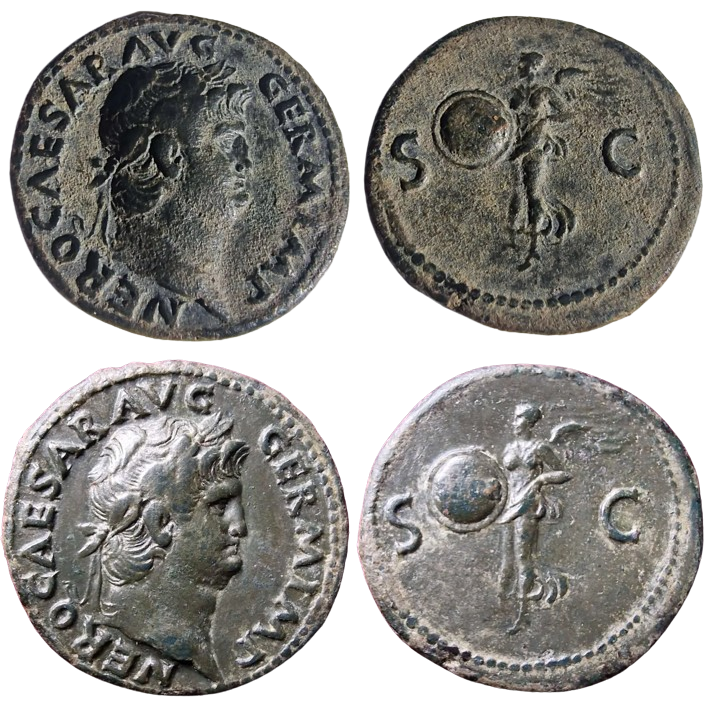
Comparison
Tools Used
- #1 Stereo Microscope
- #2 Scalpel
- #3 semi-blunt pin
- #4 customized andre shovel
- #5 acetone
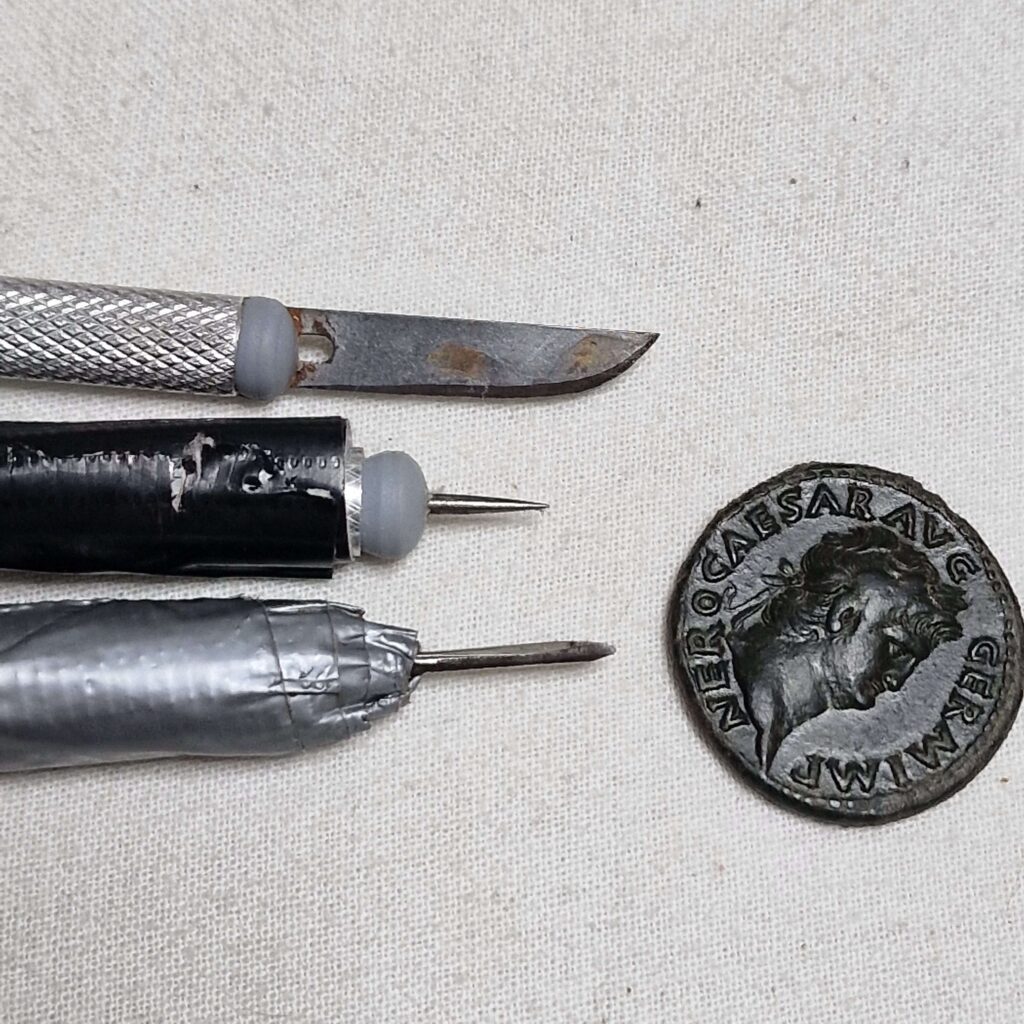
Disclaimer: while this post might make this look easy given how nice the outcome is, it takes a steady hand with years of practice to safely remove those deposits using these harsh and sharp tools.
If you have any comments or questions, leave them below!