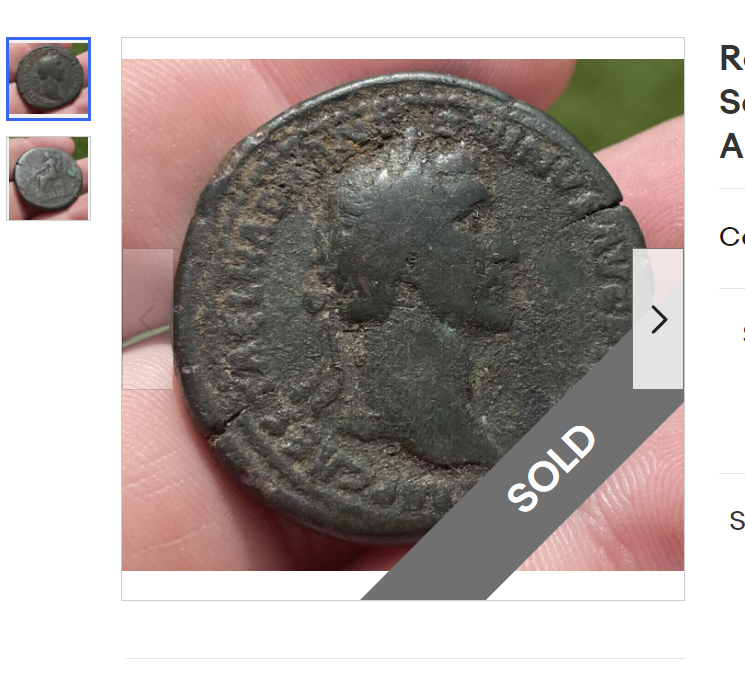
I purchased this coin on Ebay because I felt like the dirt and encrustations could be removed to display a lovely higher grade (~VF) sestertius underneath . Little did I know the coin suffered from Bronze disease eating its way down, hidden under a deposit. This is my first encounter with bronze disease (BD). This blog with follow my process of removing the BD and cleaning the coin.
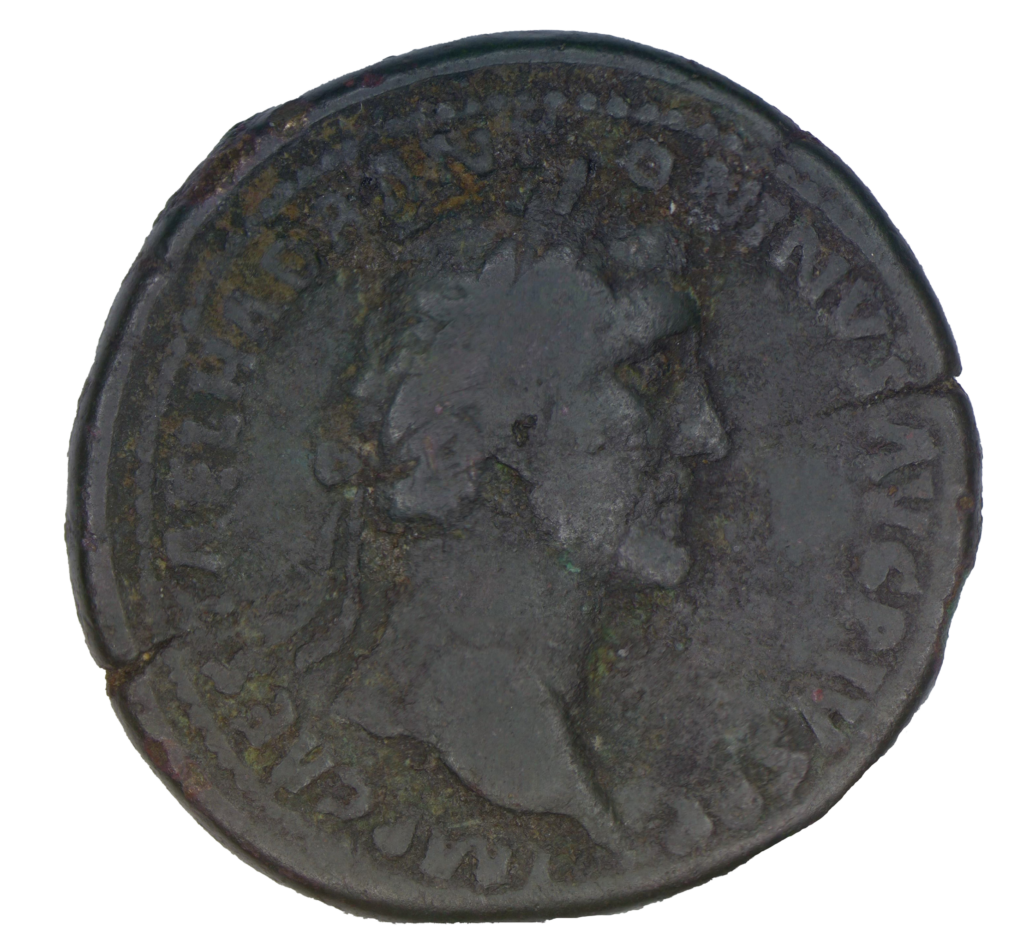
When I received the coin, I started by taking photos of the obverse and reverse under microscope.
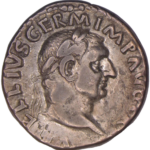
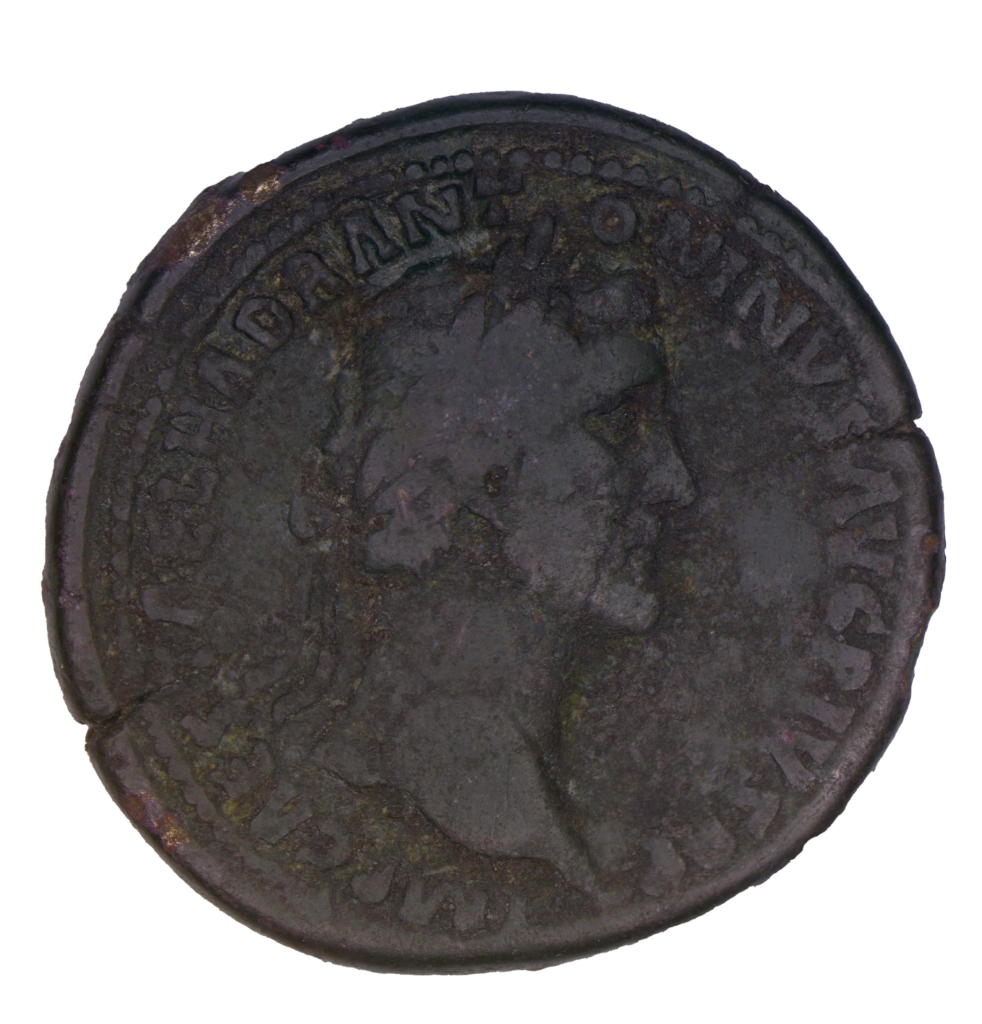
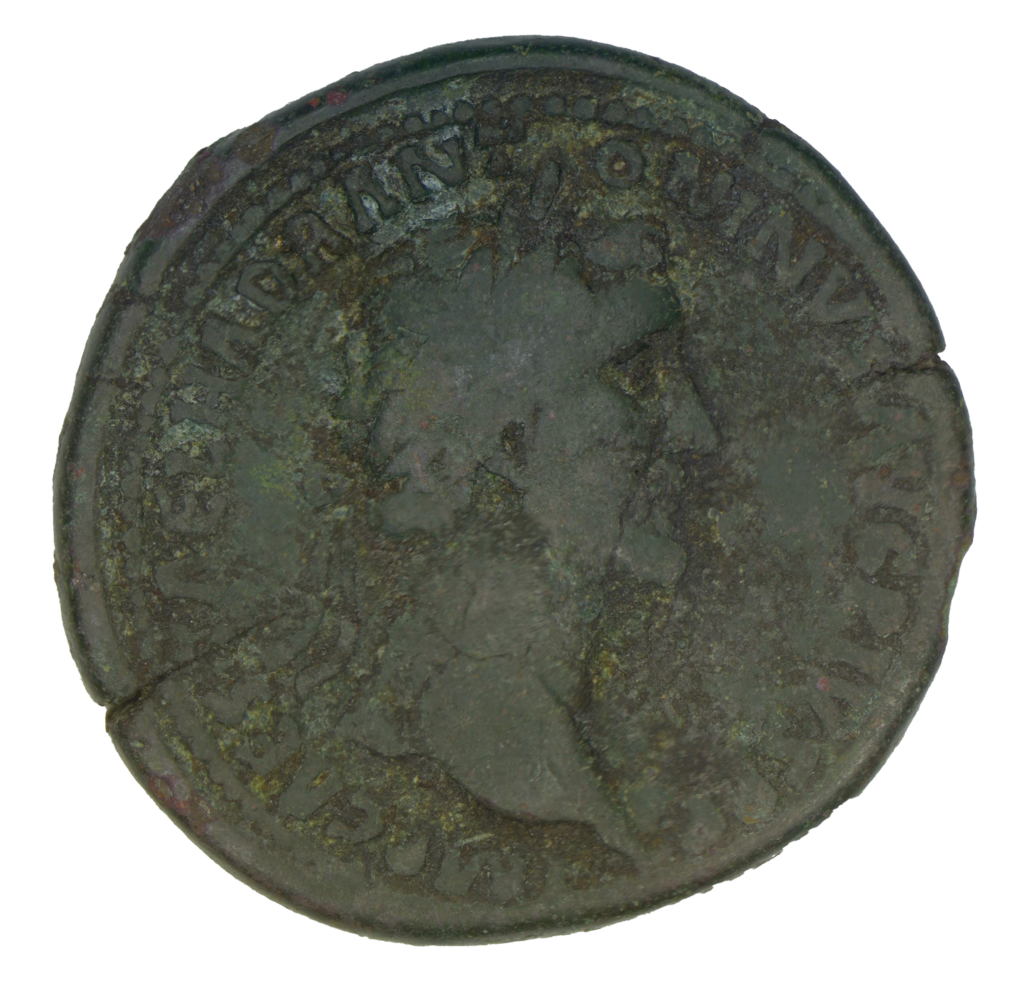
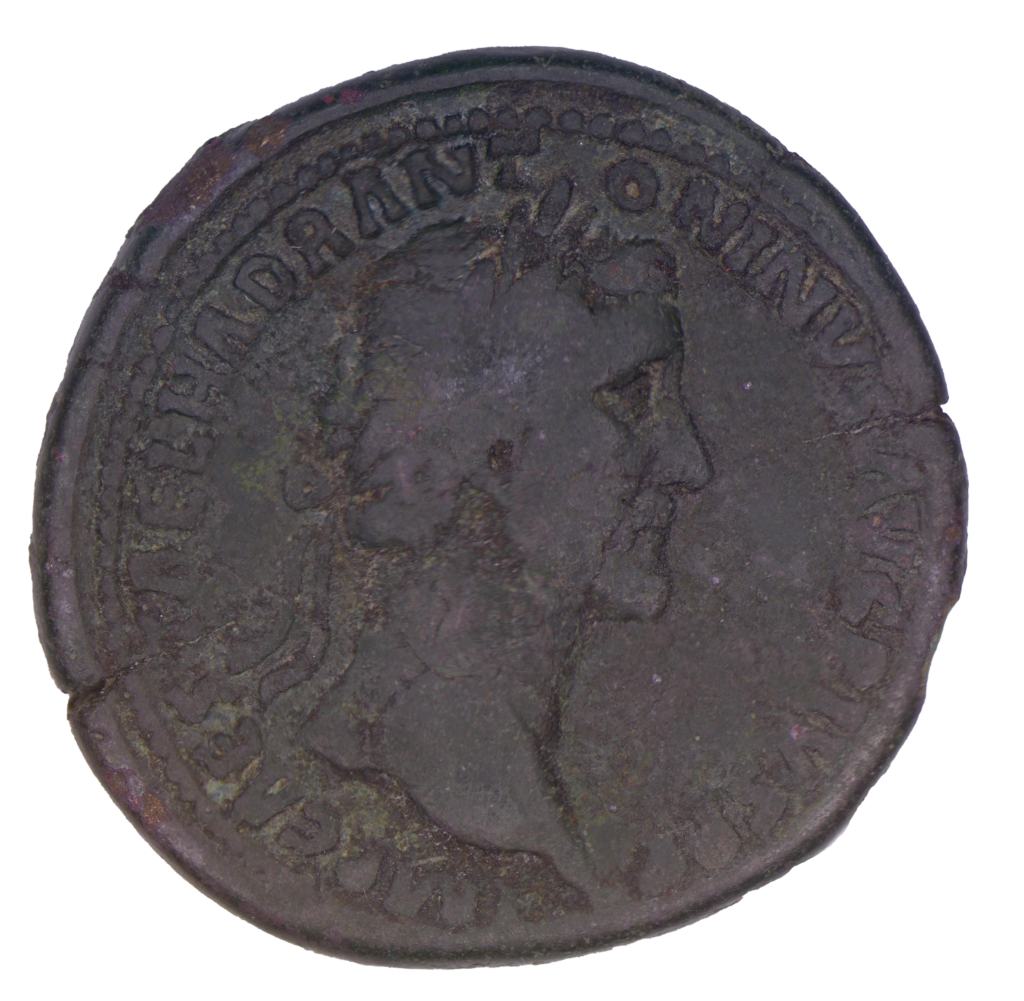
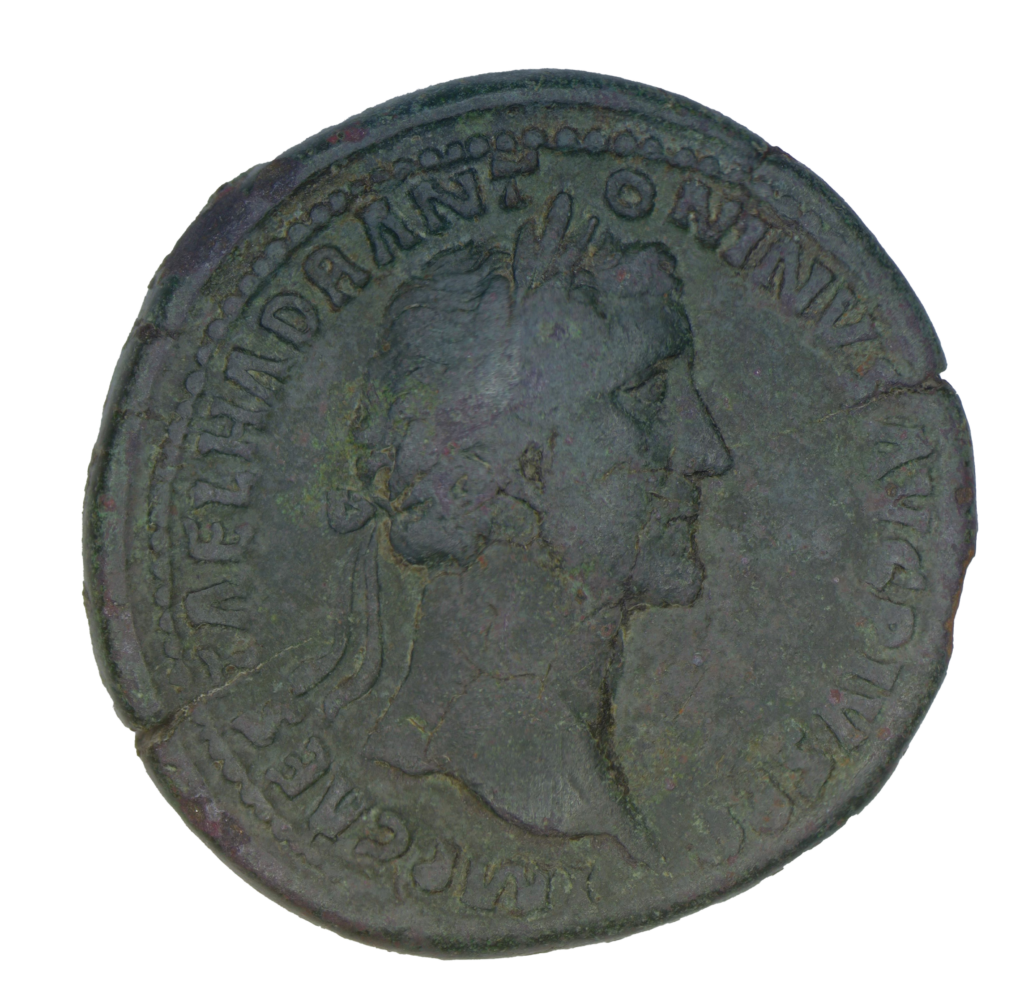
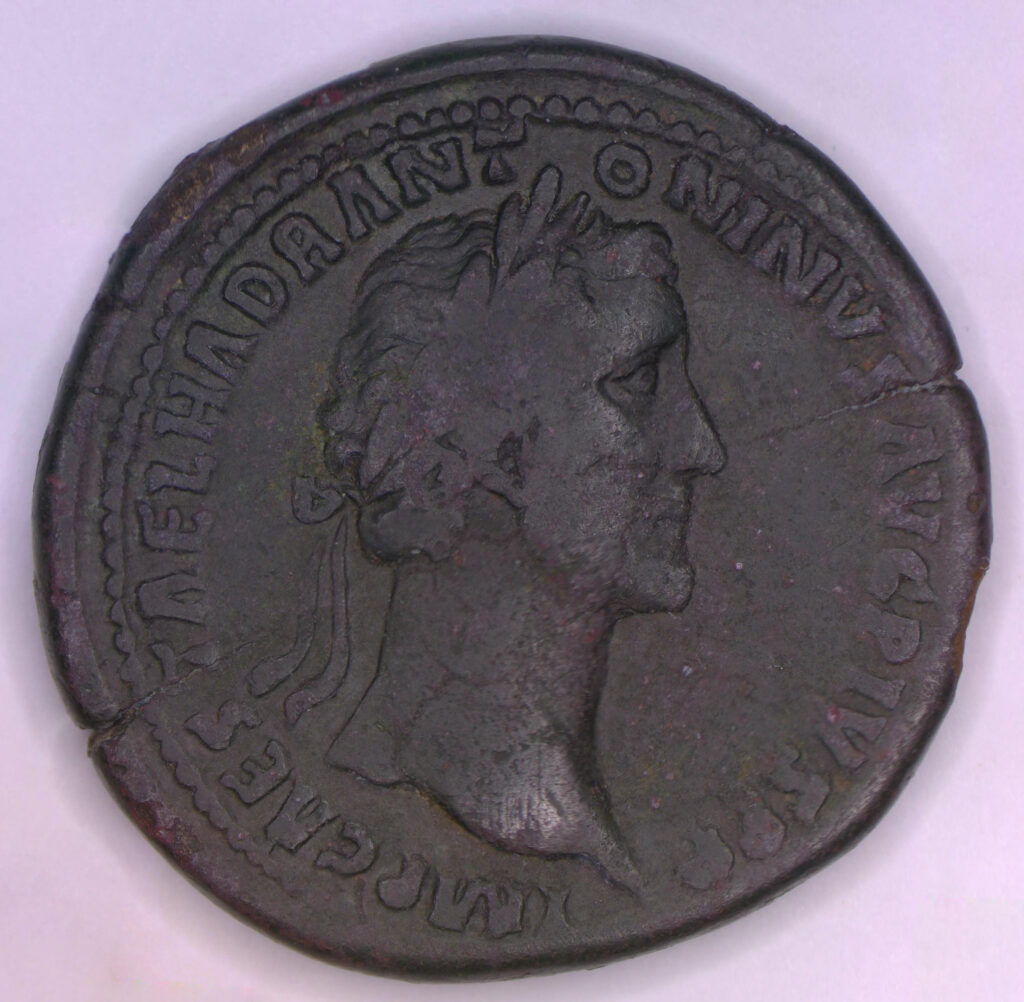
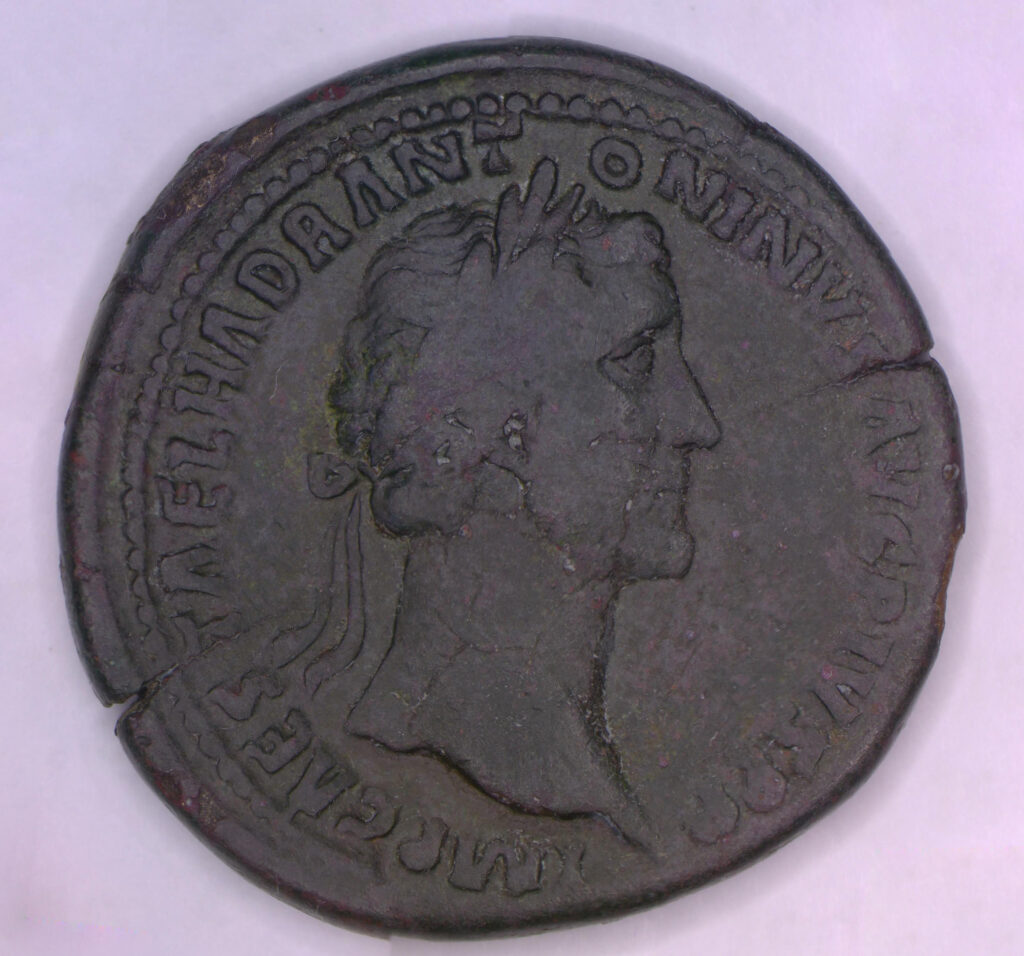
Obverse Before
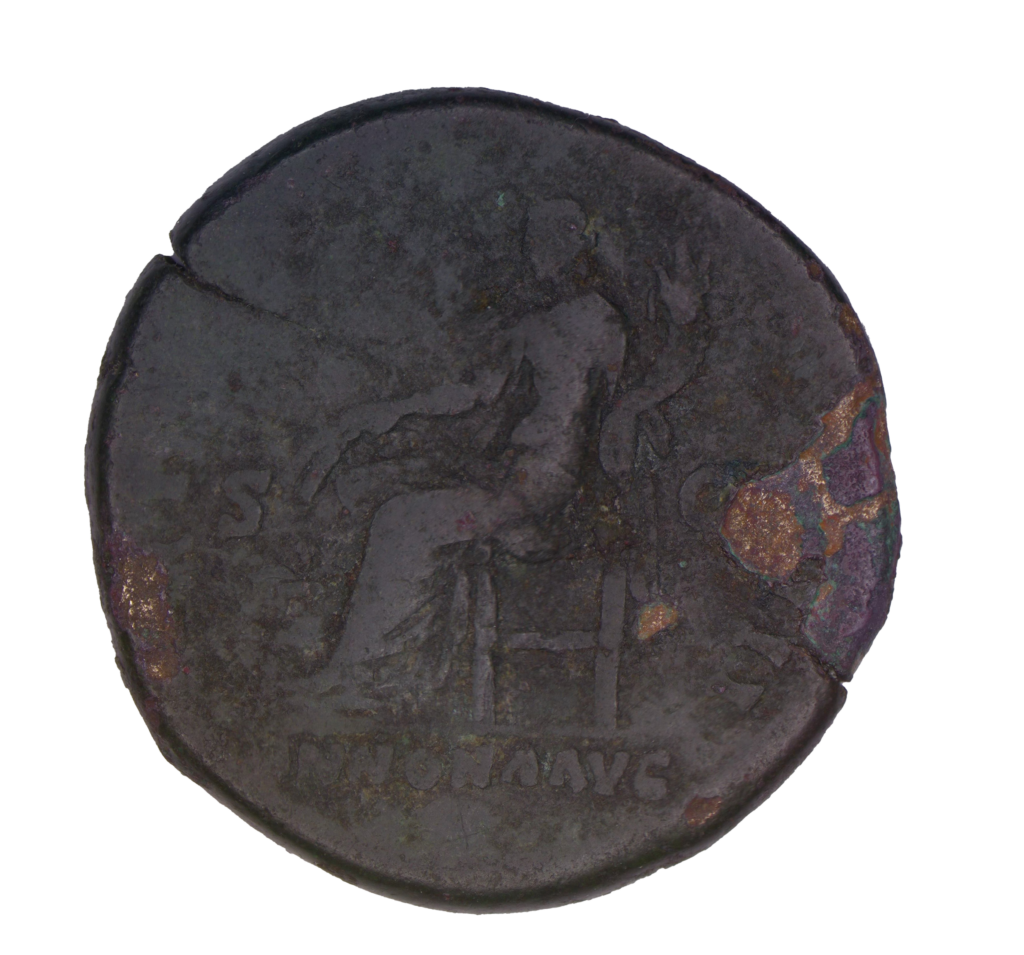
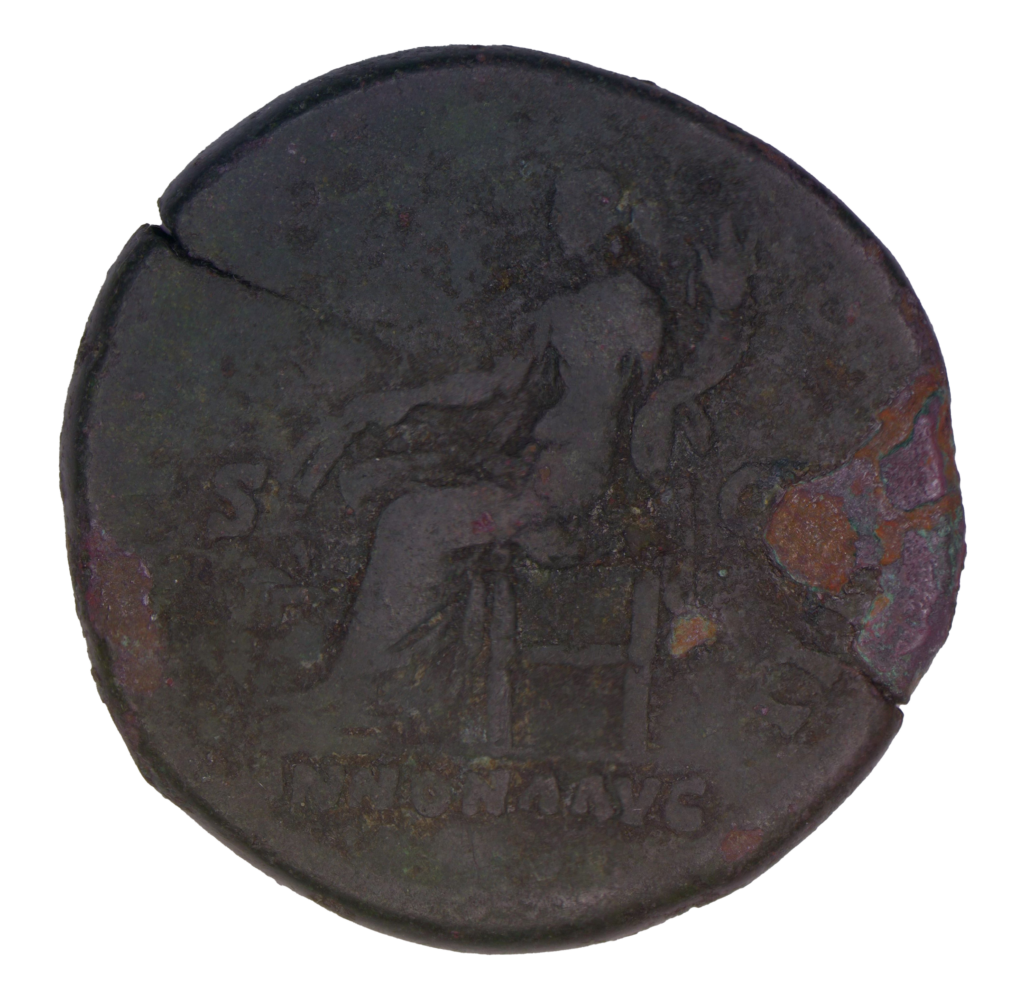
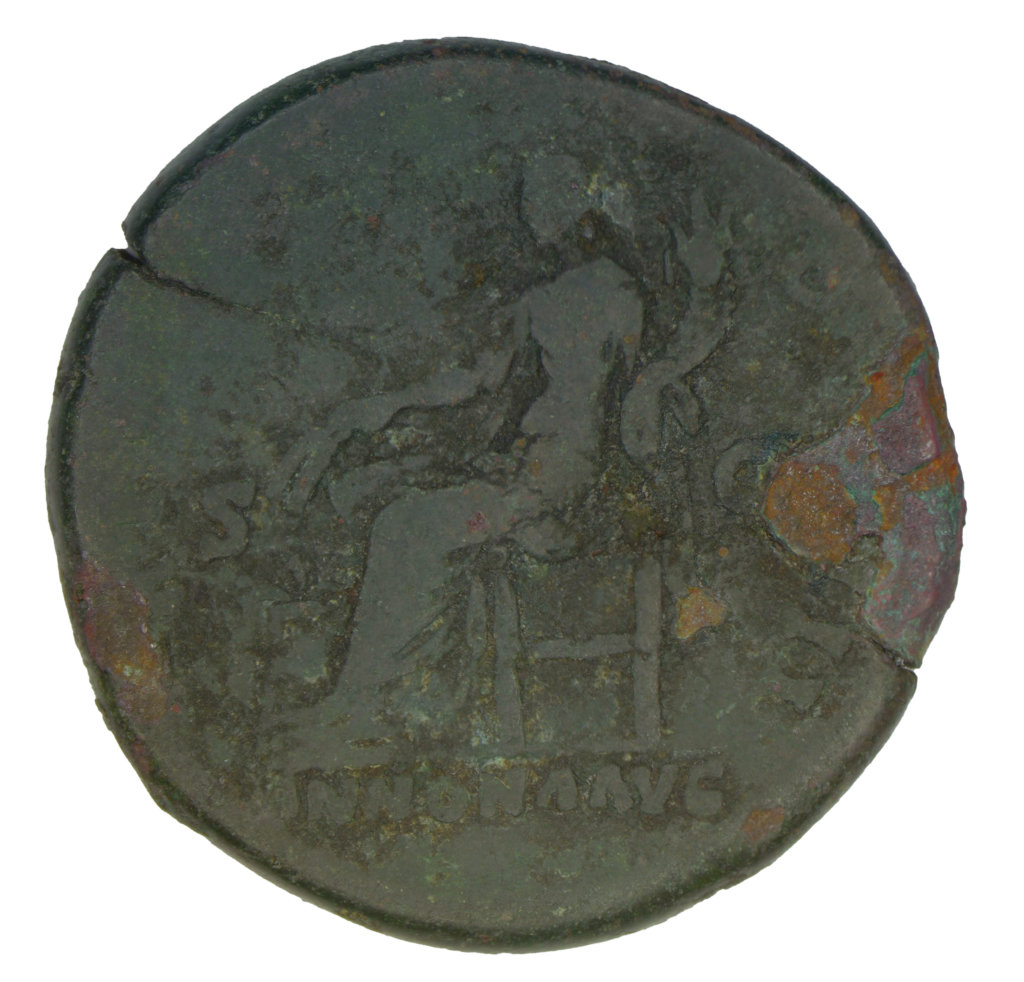
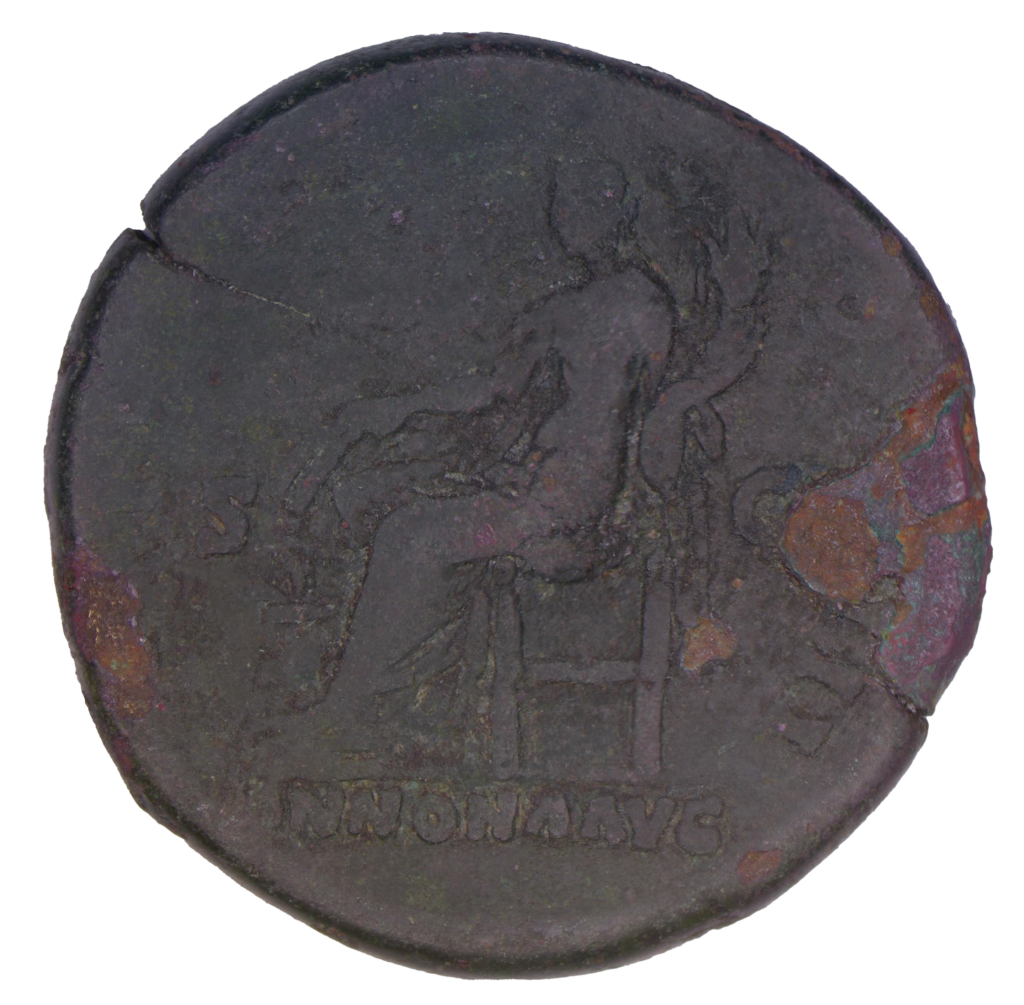
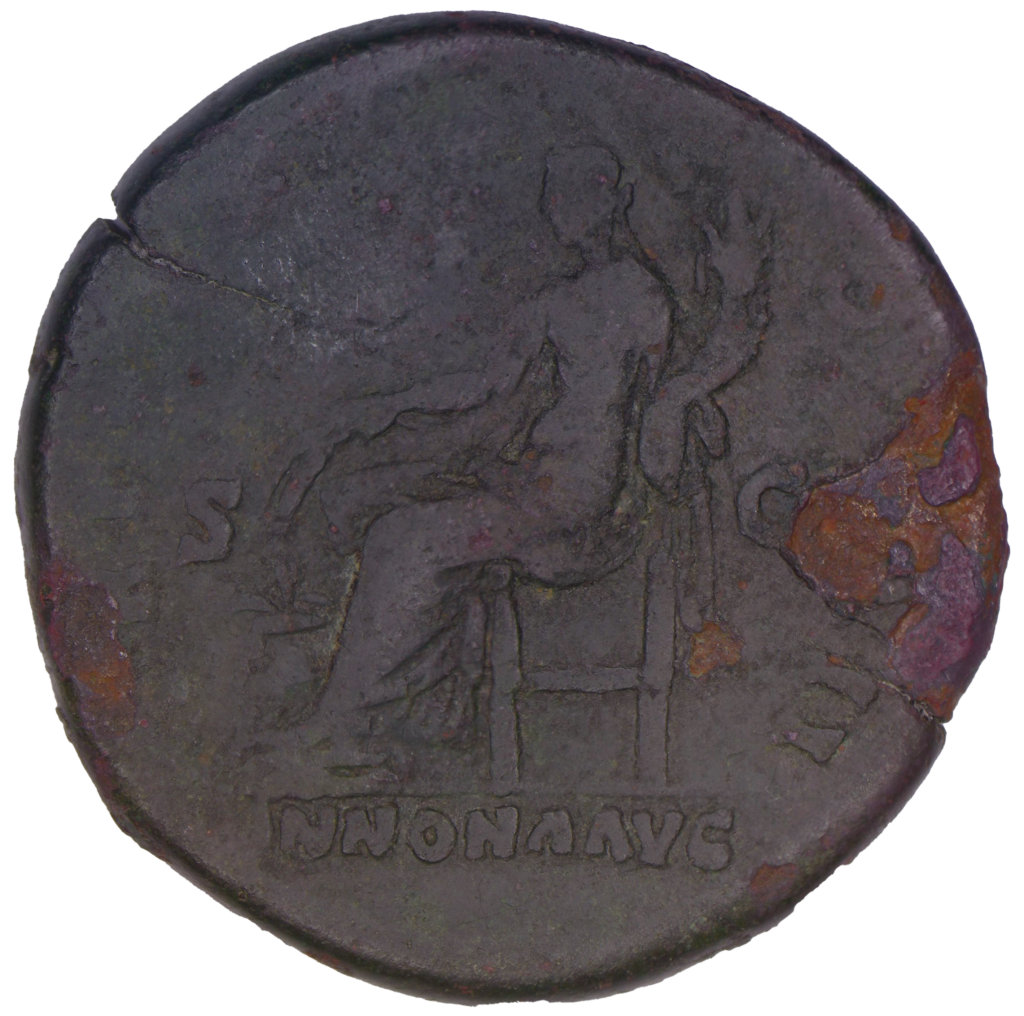
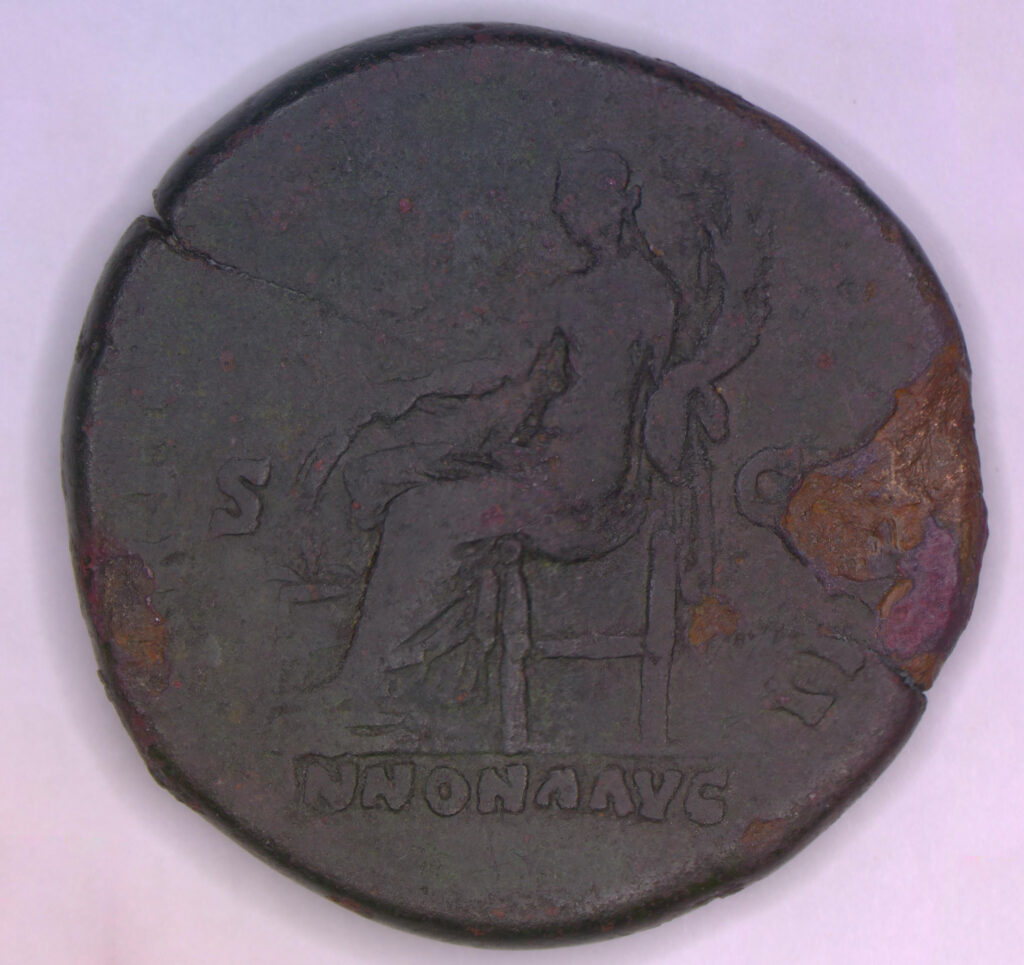
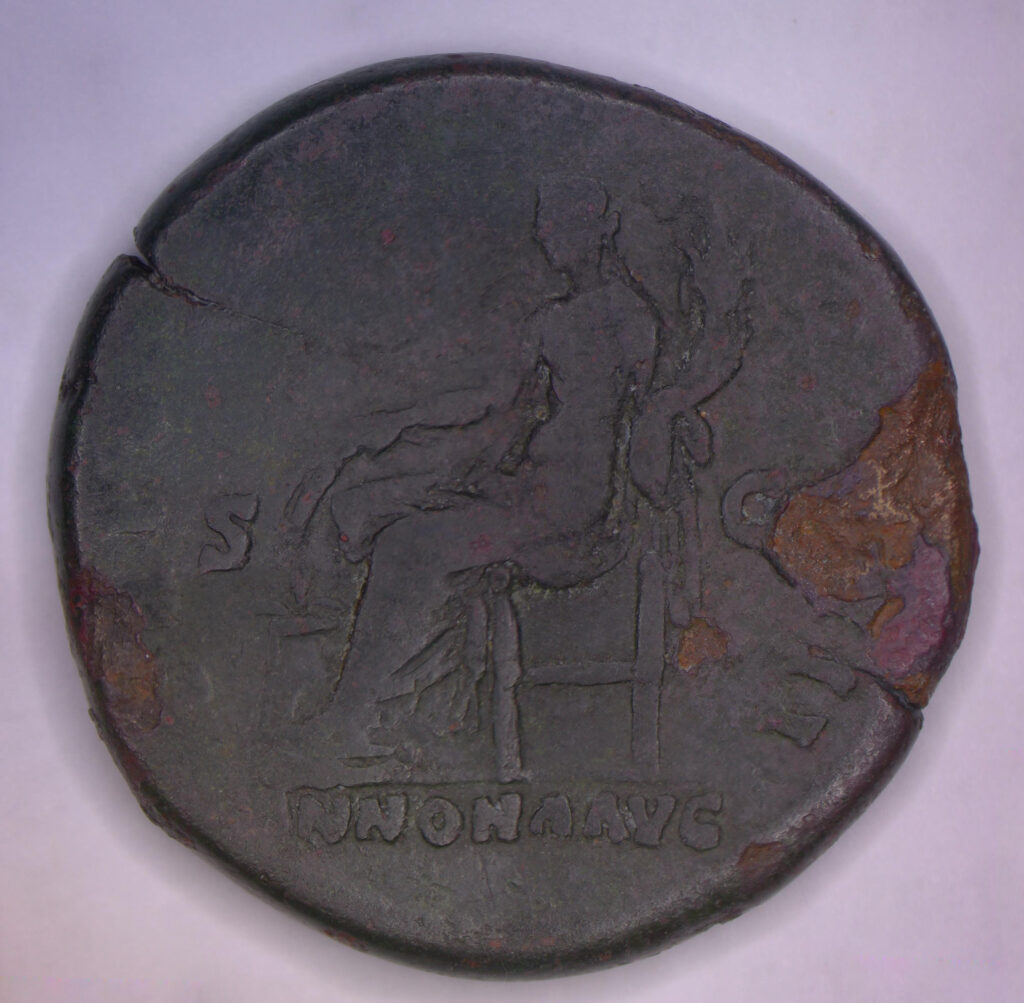
Reverse Before
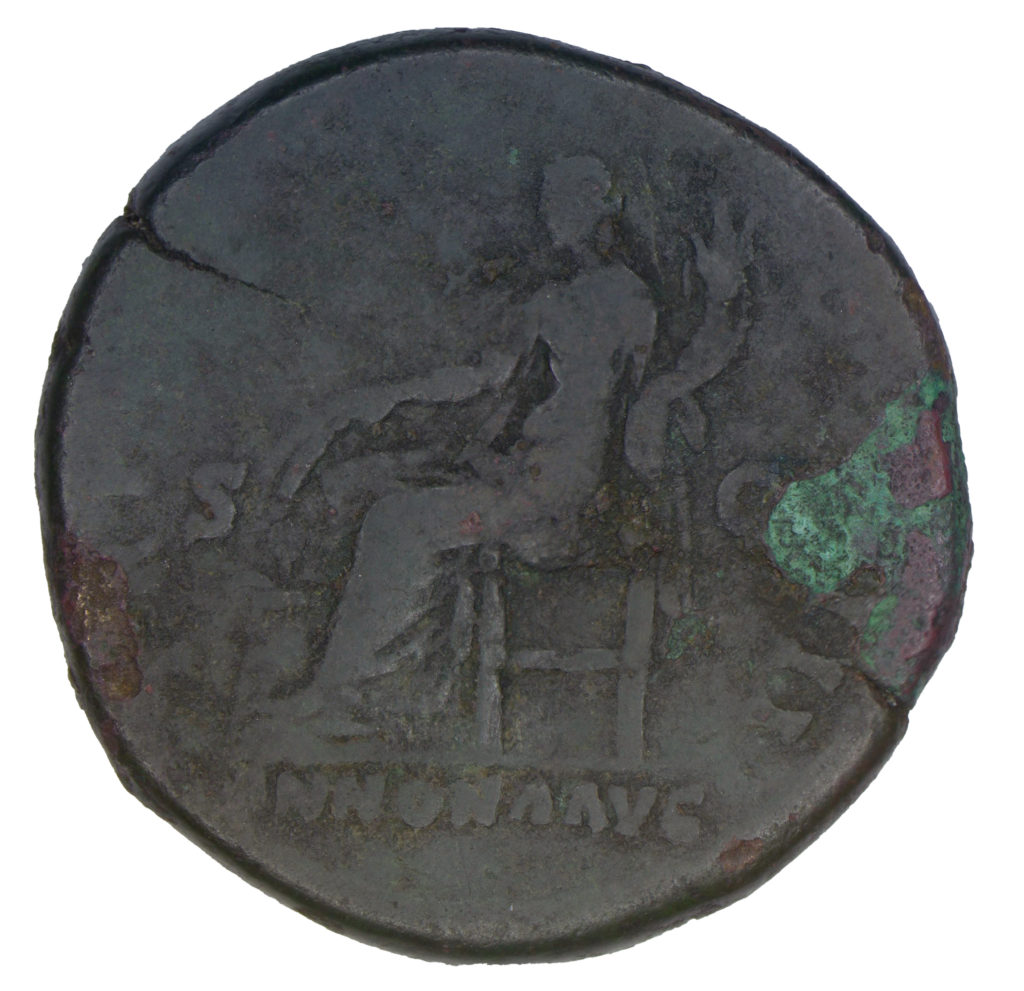
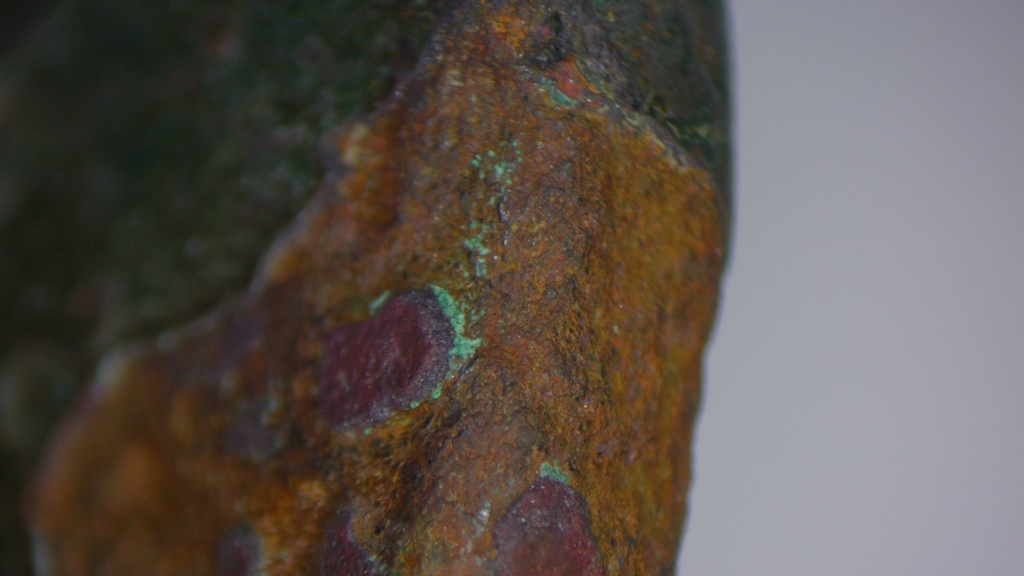
Bronze Disease covered by Deposits
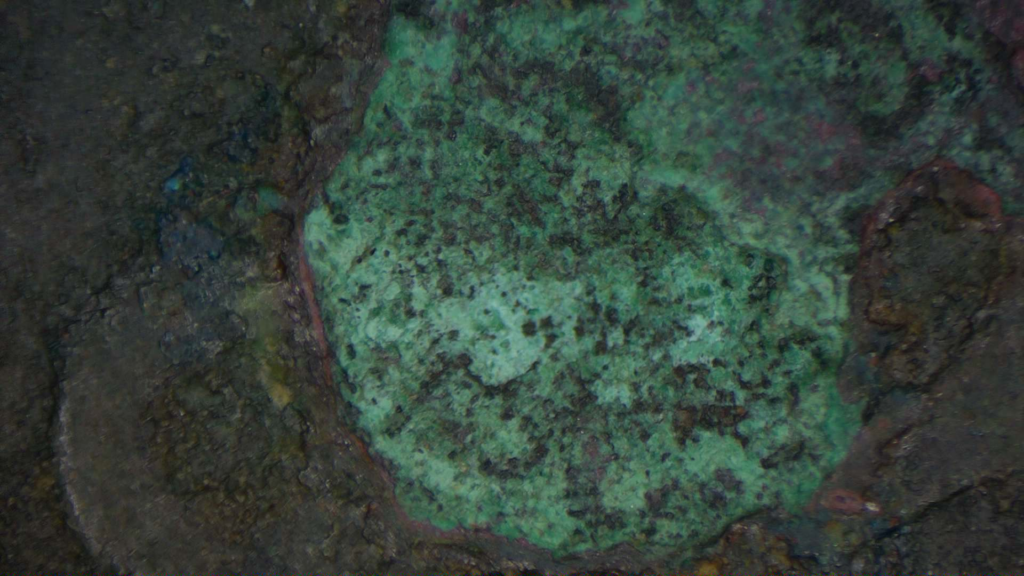
Under this deposits, it seemed to collapse in on itself. Poking with a metal tool made it realize it was soft. Most green deposits are hard, not grainy and bright green sand. Also most deposits don’t dig into the core of the coin.
When I started clearing deeper, I realized this was going in about 1-2mm into the core of the coin. Only one thing I know that does the following:
- Bright green powder dust
- Eats away at a coin
- Can go this deep. Is not a natural deposit.
Unfortunately, these variables point to bronze disease. And before any I can perform any of the fun legends cleaning I had planned, the BD must be removed or else the coin will disintegrate. Its priority #1. If I do not take care of this, it will eat through and through. The hole coin will be ruined and turned to dust in time.
Most importantly, I now need to quarantine this coin and clean all my tools because a single flake of BD can infect other coins and effectively spread. This is a nightmare scenario that must be avoided at all costs. A hell for any Bronze collector.
At this point I consulted some other cleaners on dealing with advanced cases of Bronze Disease. This is advanced because of how deep it goes (its not just on the surface). And it goes near to cracks in the coin which could make it hard to stop from coming back.
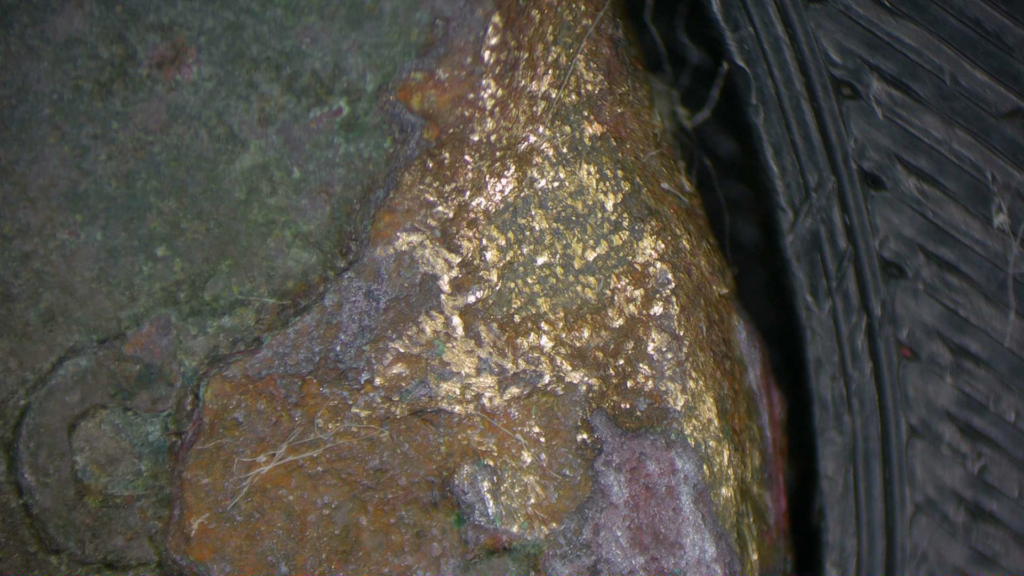
To let any chemical bath do its job, I first need to mechanically remove all bronze disease visible to the human eye.
As you can see below, I scraped away all the BD dust from the area using diamond dusted tools. Therefore, when I do a chemical bath, the chemicals can attack the source flakes at a microscopic level. However, this is deep, and is likely going to be a long process of bathing in chemicals. Weeks, possibly moths in the solution. Worse, this bathing could very likely damage the coins patina. However, sometimes you must sacrifice for the greater good.
If this Bronze disease continues there will not be a coin left to save.

In terms of creating the solution for soaking, I cannot take credit for this formula that I used below. Check out this Coin Talk blog where the process is shared. This formula is mostly safe and fairly good at killing BD.

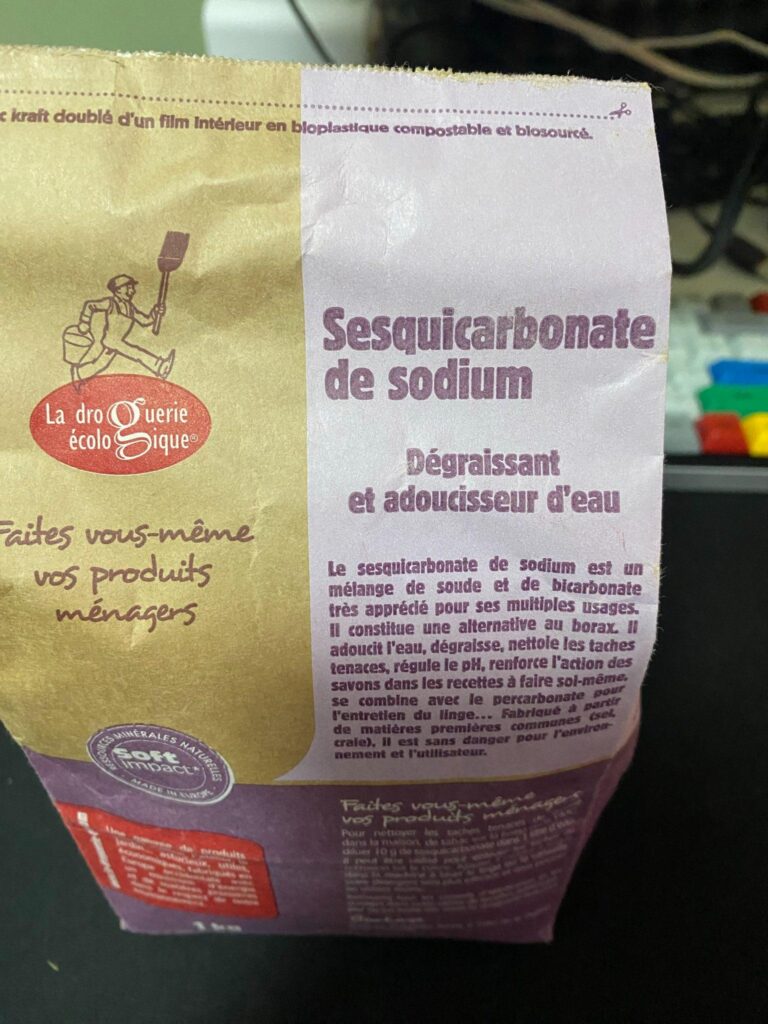
Correct way to make 5% solution of sodium sesquicarbonate for Bronze Disease treatment.
I purchased the Sodium Sesquicarbonate online
For the solution I measured out about ~5g (-2g paper tray)
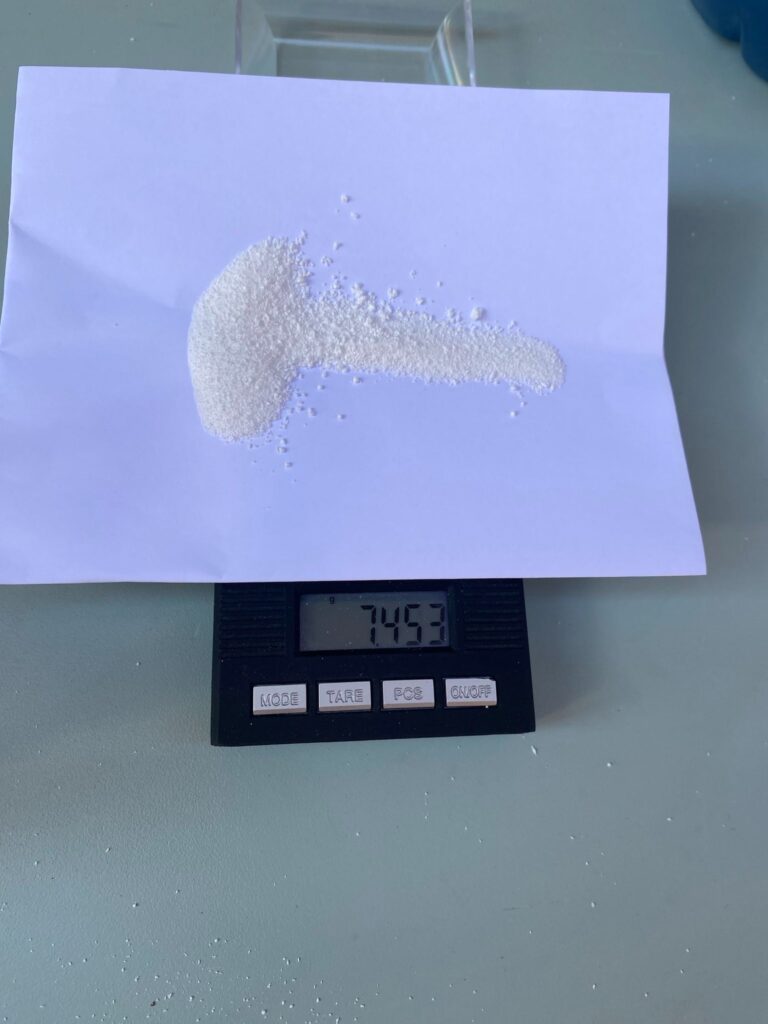
I mixed it into 100g (ml) of DISTILLED water. Do not use undistilled.
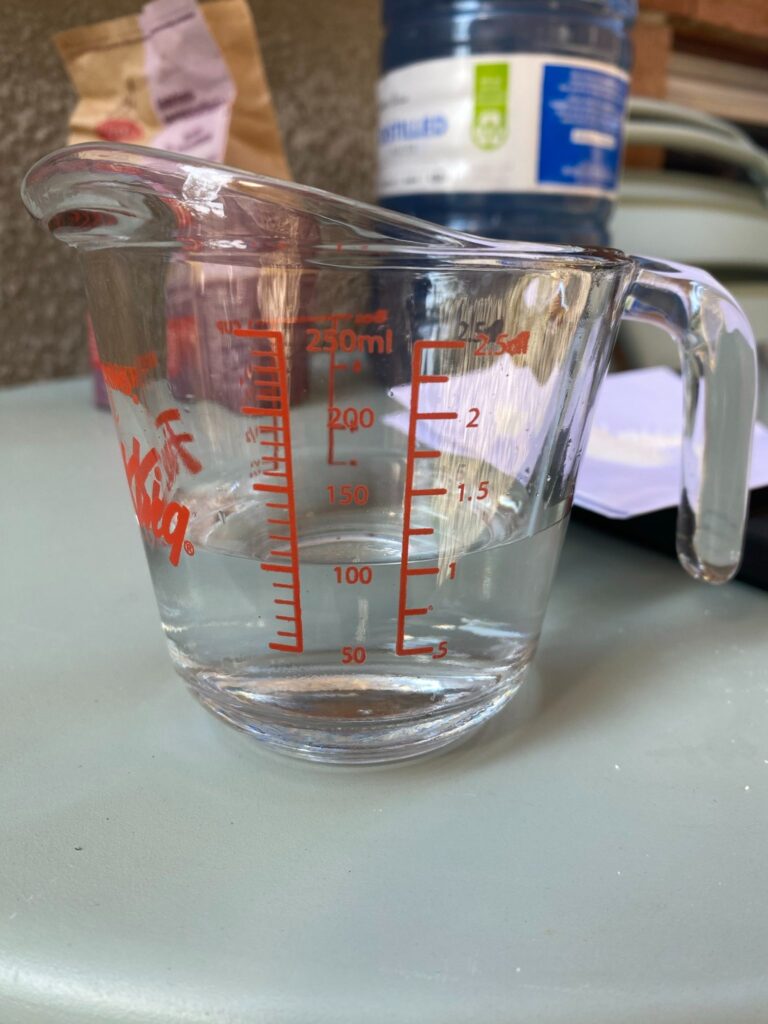
Coin in the mixture below. (Around 5% dilution of Sodium Sesquicarbonate in Distilled water)

For the purposes of documenting the actions of Sodium Sesquicarbonate, I have taken it out of the chemical bath at periodic times to photograph the changes. This is not recommended!
After 15 hours of soaking in the formula!
After 36 hours
After 6 days (green color because of lighting)
After 7 days
Including some manual cleaning under microscope.
Day 1 vs Day 7
This shows the difference between when the coin arrived versus after some mechanical cleaning under microscope, plus 6~ days of soaking in the solution.
22 Days later
After around 22 more days of soaking, water changes, and mechanical cleaning, this is what the coin looked like.
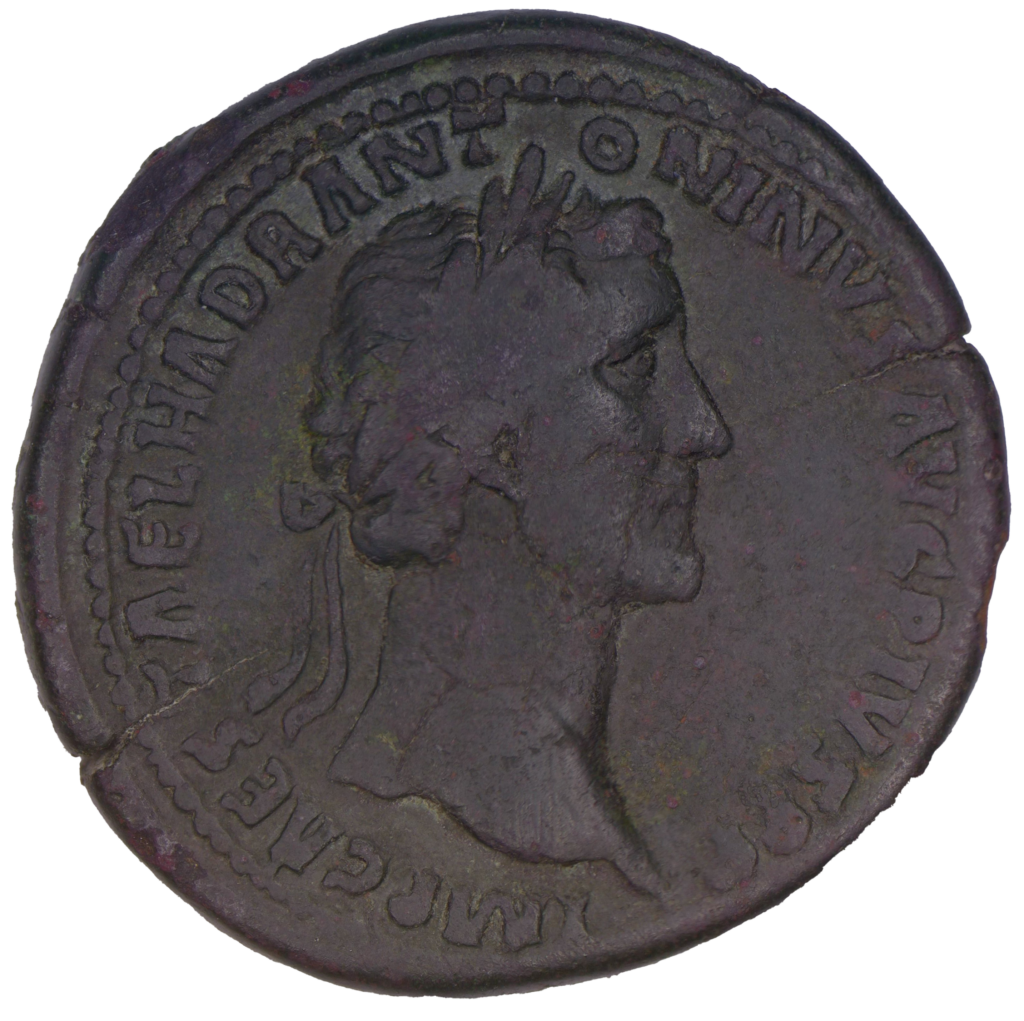
On the obverse, I spent a lot of time under high magnification clearing out the legends from deposits.
I removed deposits from the fields using a scalpel and a steady hand under 10x magnification.
The only true mistake I made in mechanical cleaning here was at the bottom of the portrait, where the patina began the collapse on touch. It was very weak. Once this became apparent, I stayed away.
On the reverse, I continued to clear out the bronze disease area after every few days, digging out more and more as required. The goal is that after 20+ days of soaking, and mechanically removing all BD or suspicious deposits (light blue, powdery deposits) , I lower the risk of reoccurrence.
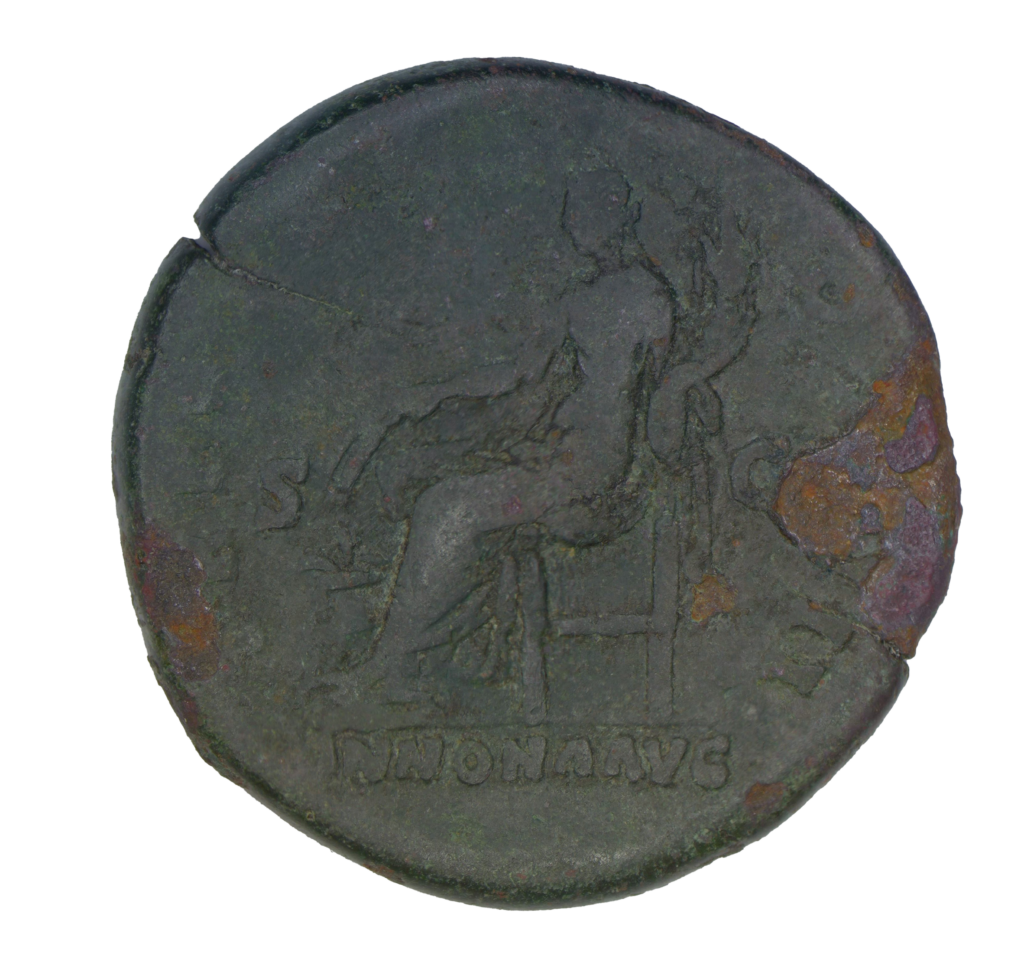
Before and After 22 days.
After more cleaning of the obverse
Testing to see if BD returns
I waited another 2-3 weeks to see if the Bronze Disease returns while it’s in the open air before applying Ren Wax to give it long term protection.
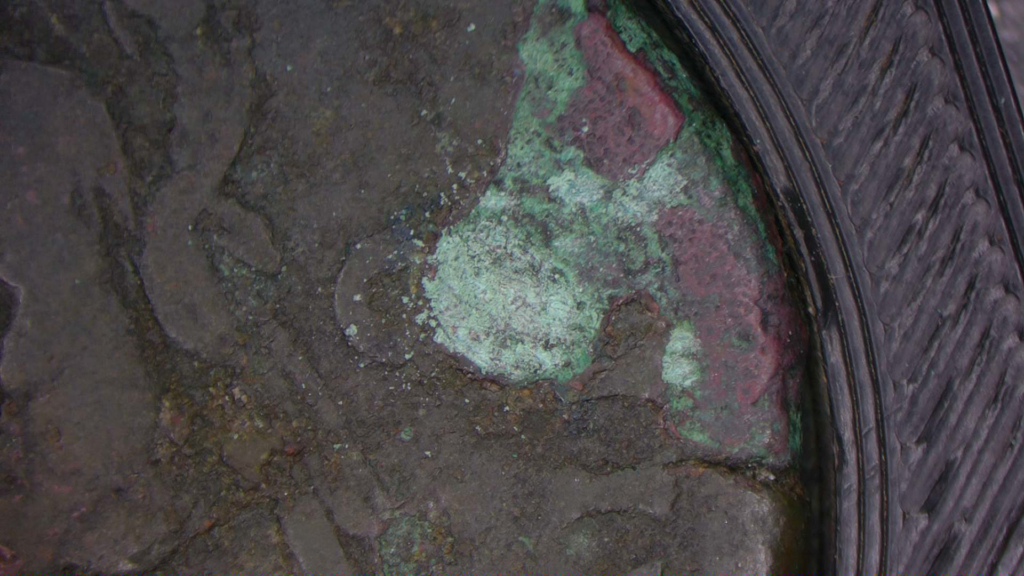
The Return of Bronze Disease
After 2 weeks out of the solution, I started to notice bronze disease returning from under these red nodules. To save the coin, serious action must be taken to stop BD from continuously returning and ruining the coin completely. (Cut off leg to save the body). This is a serious case of BD that is deep into the coin.
Cutting Deep
I completely cut away all nodules that previously had Bronze disease growing on and around them. I then scraped until I found core bronze. Is this really bad? Yes.
Would I do this to any other coin? No.
Only because of Bronze disease did I act so aggressively.
Back into the Sodium Solution

After 2 weeks in the Sodium S. Solution, I felt It was a good time to see if the treatment had kill the last of the BD.
Sure enough, after 3 weeks in open air- the BD has not returned.
It’s finally over
After 3 weeks the of open air and close inspection of the affected area, I can safely say the bronze disease has been neutralized.
Preservation
To prevent the coin from getting BD again, I am sealing it in. I seal the coin using Ren Wax.
The wax makes it a little harder to take good photographs, but I can assure you the obverse looks great in the hand.
Keeping an eye on it
Even though I am 99% sure I have removed the BD. I will be keeping an eye on this coin. If it returns I’ll update this blog.
Awesome work! Very educational. That red stuff (CuO2, or cuprite) is made of Cu(I) ions which easily become CuCl in the presence of any chloride, which starts the reaction in the presence of H2O and O2. So it is good that you sealed it, I think! Cool to see the copper I ions down there as it were. Thanks!
Thanks! Cool info on the chemistry. Bronze Disease still has not returning on it after a few months now so the treatment/sealing has worked. However, I now have a jar of bronze diseased coins to learn from – seems one of them had BD and while soaking prior to cleaning spread to the rest. Might have to make a post about that one too!